
Wondering what the easiest recipe for paper mache glue is? You have come to the right place!
Following is my go-to paper mache glue recipe. Ideal for most paper mache projects, from pinatas to modern vases.

Have young kids? This recipe is a perfect introduction to measuring ingredients for your kids, as exact measurements are not needed. Teach them fractions while getting their help in scooping out the flour, salt, and pouring the water. Then have fun (and get a little messy) stiring it all together.

paper mache glue
Ingredients:
- Flour
- Water
- Salt
Steps:
- Begin by measuring equal parts (1-1 ratio) of flour and water into a bowl. I recommend starting with ½ cup flour and ½ cup water. For every 1 cup of your flour/water mixture, add 1 tsp of salt.
- Lastly, stir the mixture until it is smooth and free of lumps.
When left overnight, the mixture can smell funky. Most paper mache projects span a few days to allow for dry time between layers. Ideally you will make a new batch of paper mache glue each day.
The salt component to this recipe prevents your paper mache sculptures from becoming moldy.

Paper Mache Glue Recipe Tips
Note that the three keys to strong paper mache structures are 1) durable glue, 2) sufficient dry time between layers, and 3) building multiple layers.
Creating a Durable Paper Mache Glue
One potential issue with this process is diluting the glue too much by adding too much water. Be sure to keep to a 1-1 ratio consistency of the flour and water to avoid experiencing weak paper mache paste.
Sufficient Dry Time
It is best to allow each layer of paper mache to dry completely before adding additional layers. This can take several hours or overnight. To speed up the drying process, you can place the project in a warm location or expose it to direct sunlight.
Building Multiple Layers
The number of layers of paper mache you will need to use for your project depends on the size and intended strength of the structure. As a general rule, larger structures will require more layers to provide sufficient support. To determine how many layers are necessary, you can build up the layers and test the firmness by gently pushing and tugging on the surface. If it feels soft or gives easily, you may need to add additional layers. If it feels firm and sturdy, then you have used enough layers.

Other Common Paper Mache Glue Recipes
Curious to know what some other recipes for paper mache glue are? Following is a brief overview of the three common paper mache glue recipes other than the easy paper mache glue recipe shown above:
White Glue Paper Mache Paste
Simply using white glue (otherwise named school glue, Elmer’s glue, or PVA glue) in replace of flour glue. It can be used on its own or mixed with water to create a thinner consistency.
Cooked Flour and Water Paper Mache Paste
Mix together the regular flour glue recipe as shown above. Next, bring to a boil 2 and ½ cups water. Lasty, stir in the mixture and continue boiling for a few minutes. Allow it to cool completely prior to using. By making a cooked flour and water paste, your glue will dry clear. This recipe is ideal if you would like to leave a paper mache sculpture left unpainted.
Paper Mache Clay
The adhesive is mixed with the paper – find my tutorial here.

Get creative with paper mache!
Now that you’ve had an overview of the four different paper mache glue recipes (and know how easy it is!), you can determine which is best for your next paper mache craft. Below are some of the paper mache craft tutorials you can find on Gilded Stork.
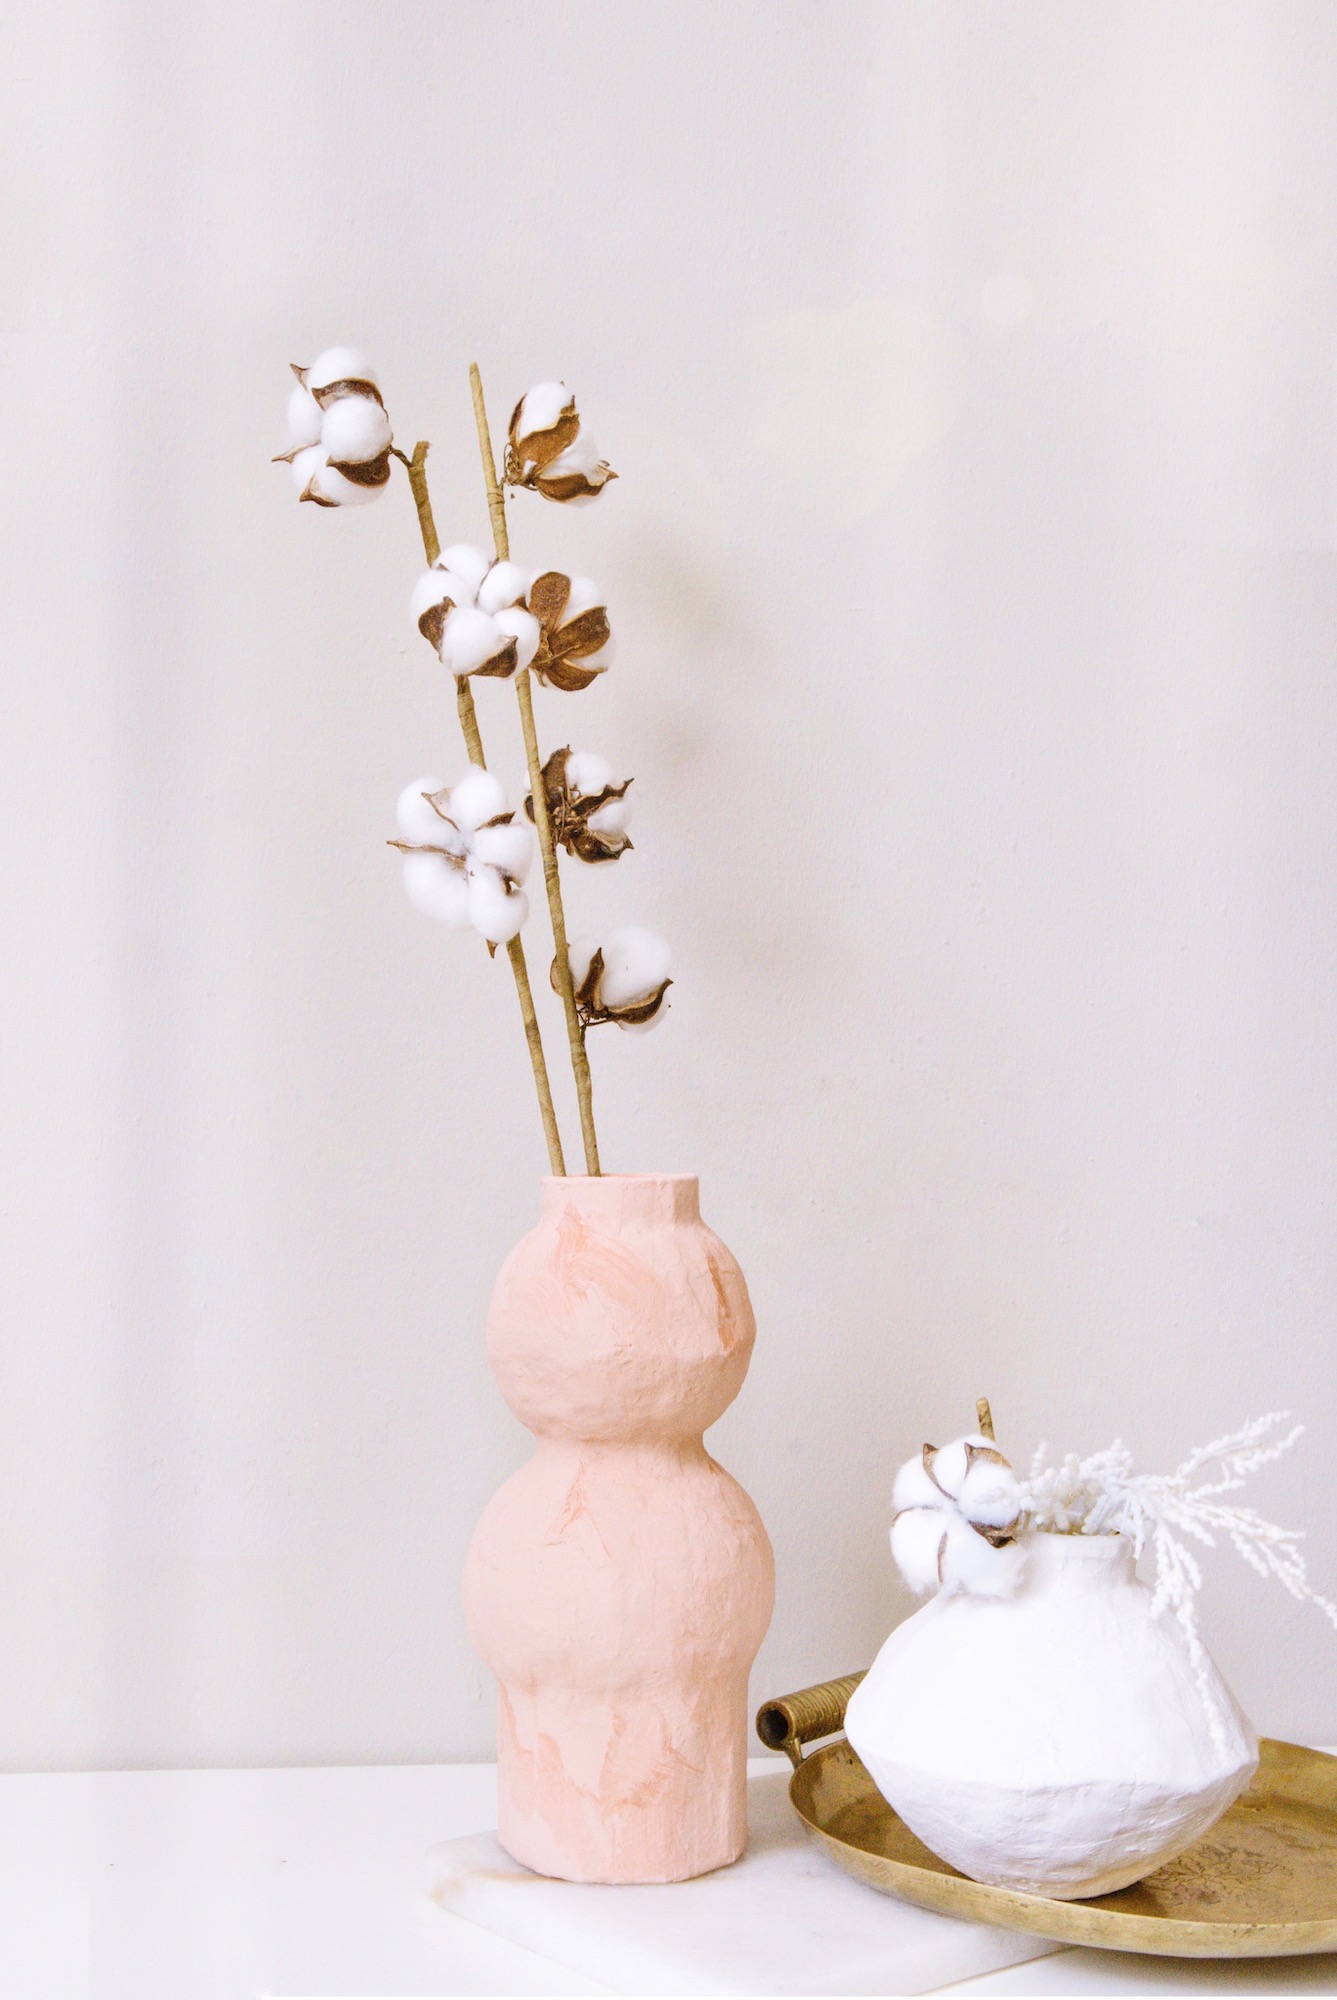
Trendy and modern paper mache vases. Perfect for styling with dried flower bouquets or branches.

A Restoration Hardware inspired paper mache bowl holding moss covered, paper mache eggs.


