
With Spring comes the desire to get outdoors, why not bring the outdoors in by making moss-covered paper mache Eggs to add to your Easter decor? These DIY moss-covered paper mache eggs displayed in a paper mache bowl (find the paper mache bowl tutorial here) are a fun seasonal take on the trendy moss centrepiece.

This is a great craft to get your kids involved with! Because of the eggs being covered fully in moss, the paper mache doesn’t need to be tidy and smooth. You can work quickly with each paper mache layer.

How to Make Moss Covered Paper Mache Eggs for Easter Step-By-Step
Paper Mache Glue Recipe
Begin by making your paper mache glue.
To make your glue, scoop a half cup of flour into a container, then add a tsp of salt as a preservative.
Next add water, stirring with a kitchen whisk until the consistency is that of white glue.
Read the Gilded Stork guide to paper mache glue here.

Making the Egg Structure
Start by blowing up a standard size balloon to the shape of an egg. I used 12-inch balloons, however only blew them up to be about 4 inches in height.
Use a container or containers to prop the balloons up while you paper mache them.

Piece by piece, dip your paper into the glue, then place it onto the balloons.
Continue this until one side of the balloon is covered. Allow to dry and then flip and cover the other side.

When you feel the paper mache has built up a sturdy structure so that the walls will not collapse once the balloon is pooped (I did two layers of paper mache), use scissors to cut out the balloon.
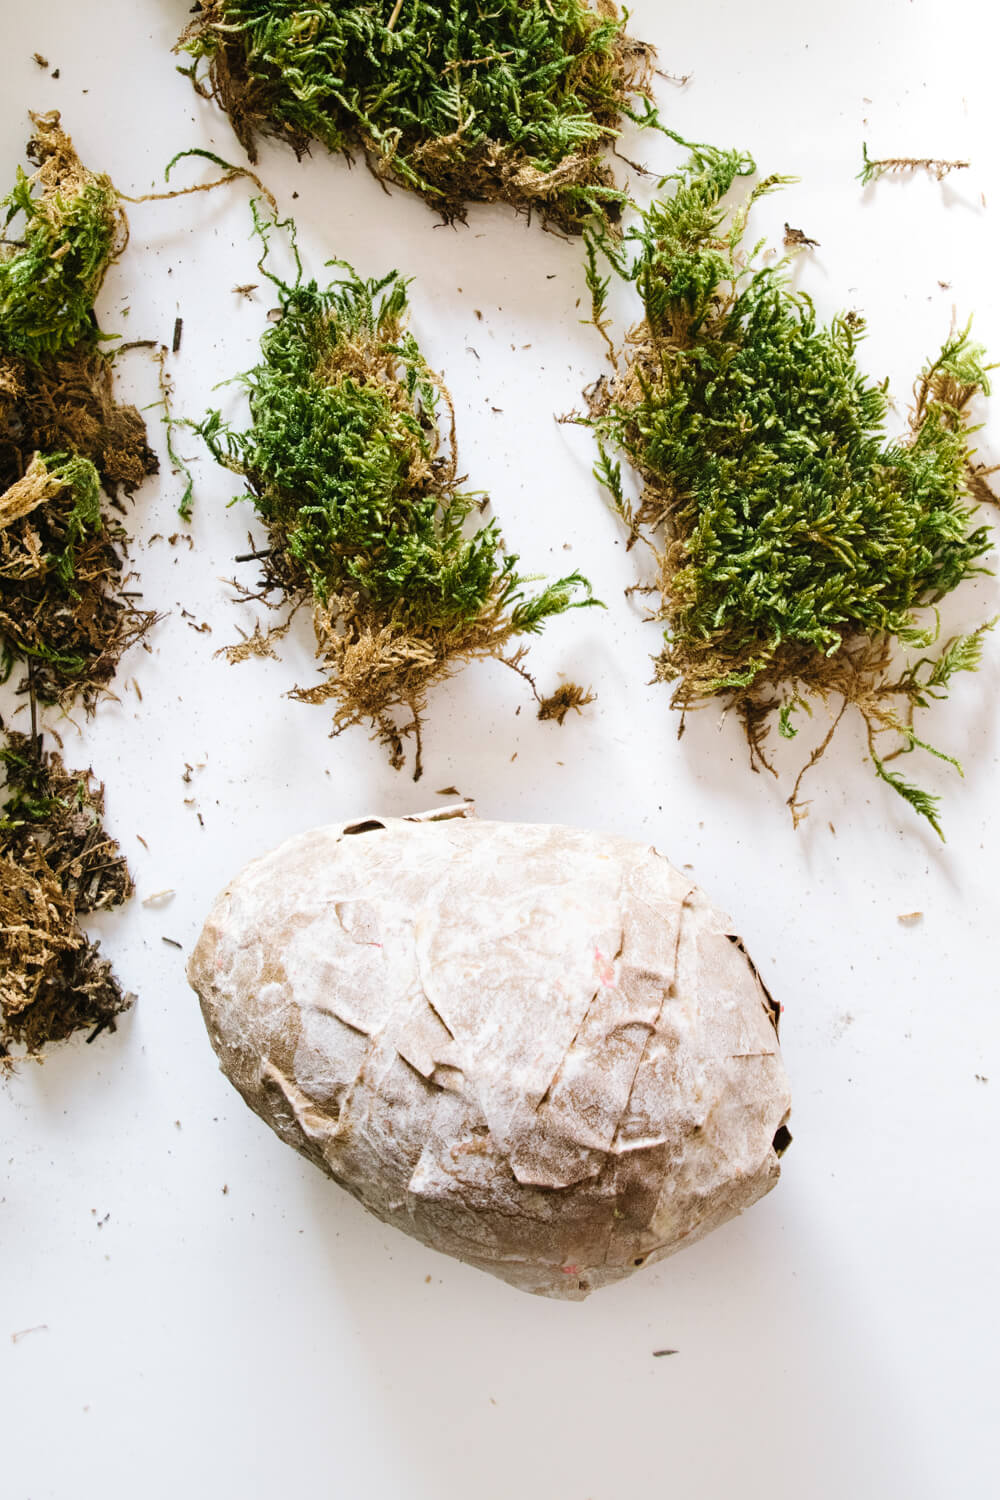
Adding Moss to the Paper Mache Egg Structure
Begin by separating your moss into chunks that will be manageable to glue onto the eggs in pieces. If your preserved moss has a lot of dirt and roots on the opposite side of the greenery, you can carefully cut that away to remove some of the bulk.

Then use a glue gun to adhere the moss to the paper mache egg structure. Fully cover the paper mache eggs with the moss so that none of the paper mache paper/newsprints can be seen.

I left some of my eggs with the natural moss growth, for another one I gave a haircut using scissors for a variation of texture in the paper mache bowl that I made.


