I think I’ve stumbled on the perfect craft to do while staying home and social distancing! DIY Modern Paper mache vases!

The back story of how I stumbled into this realization: My husband and I have been spending the week working and studying from my in-laws home. My sister-in-law is still in elementary school, so we have been with her while she now does her school online. I was looking for an activity to do so she could get a break from staring at the laptop. I came up with paper mache!
Paper mache is easy enough for kids to do and sophisticated enough for adults to take it to another level – the outcome is truly beautiful for both. It also is so very satisfying to see scraps of recycled newspaper, flour, and water shape into these modern, organic vases, perfect for holding dried flowers, diy paper palm fronds or diy raffia palm fronds, your keys, jewelry, and more. I’m addicted and keep thinking of new ways to use paper mache!
This craft is also perfect for self-isolating as you probably have all the ingredients at home. No need to run to a party store, there are many paper mache crafts you can do without balloons, the sky’s the limit!
{{ This post contains affiliate links. These links don’t cost you anything extra, but allow me to run this site and provide free content for you. You can read the full disclosure here.}}

*Update September 2020: Since making these vases I have also played around with paper mache clay! I share the recipe for paper mache clay along with how to make the above modern circle vase in this blog post here.
A random fact I found while googling how to make paper mache for beginners, is that paper mache is thought to be discovered and developed in China around 200 B.C!
Below is a step-by-step tutorial on how I made these paper mache vases.

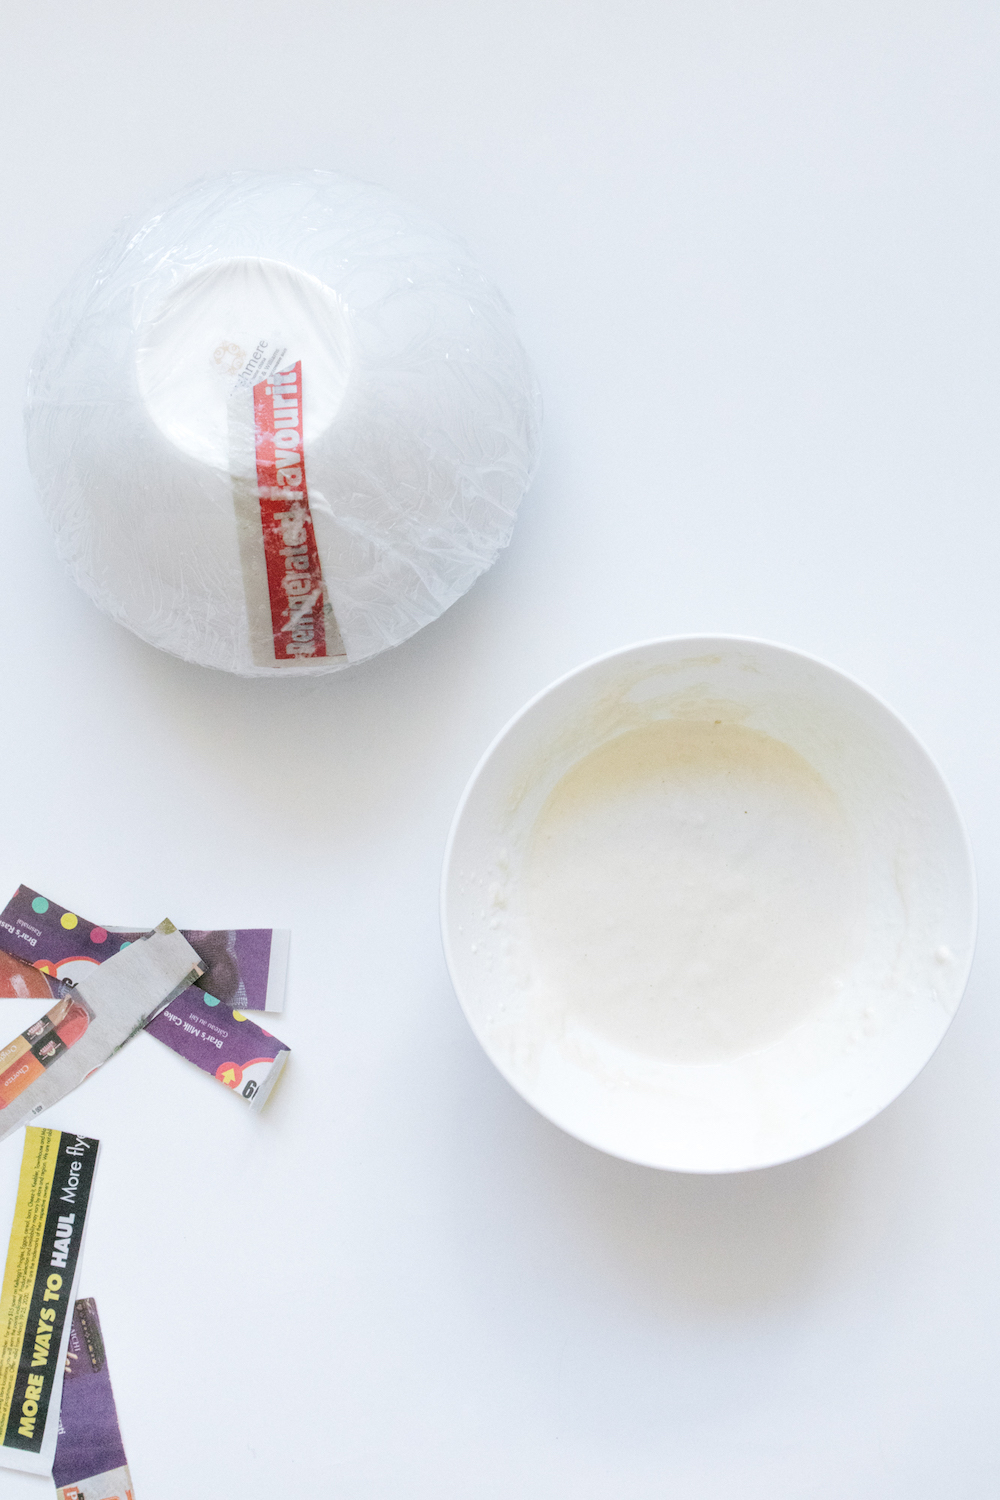

Begin by cutting strips of newspaper about 1/2 in by 5 in long. Mix the paper mache glue recipe by adding water to a 1/2 cup of flour until it has a white glue consistency. You can make more glue as needed. The glue can also be kept for multiple days in a sealed container, simply stir before using again. Read the Gilded Stork guide to paper mache glue here.
Cover a bowl with plastic wrap, this will allow for easy removal of the dried paper mache. Dip the paper into the glue and run your finger along it to remove any excess glue. Place the paper onto the bowl. Continue this until you have covered the bowl completely.

Allow to dry fully. I’ve found it takes about three to four hours for one layer of paper mache to completely dry. Each structure I did three layers before removing them from the bowl or popping the balloons.


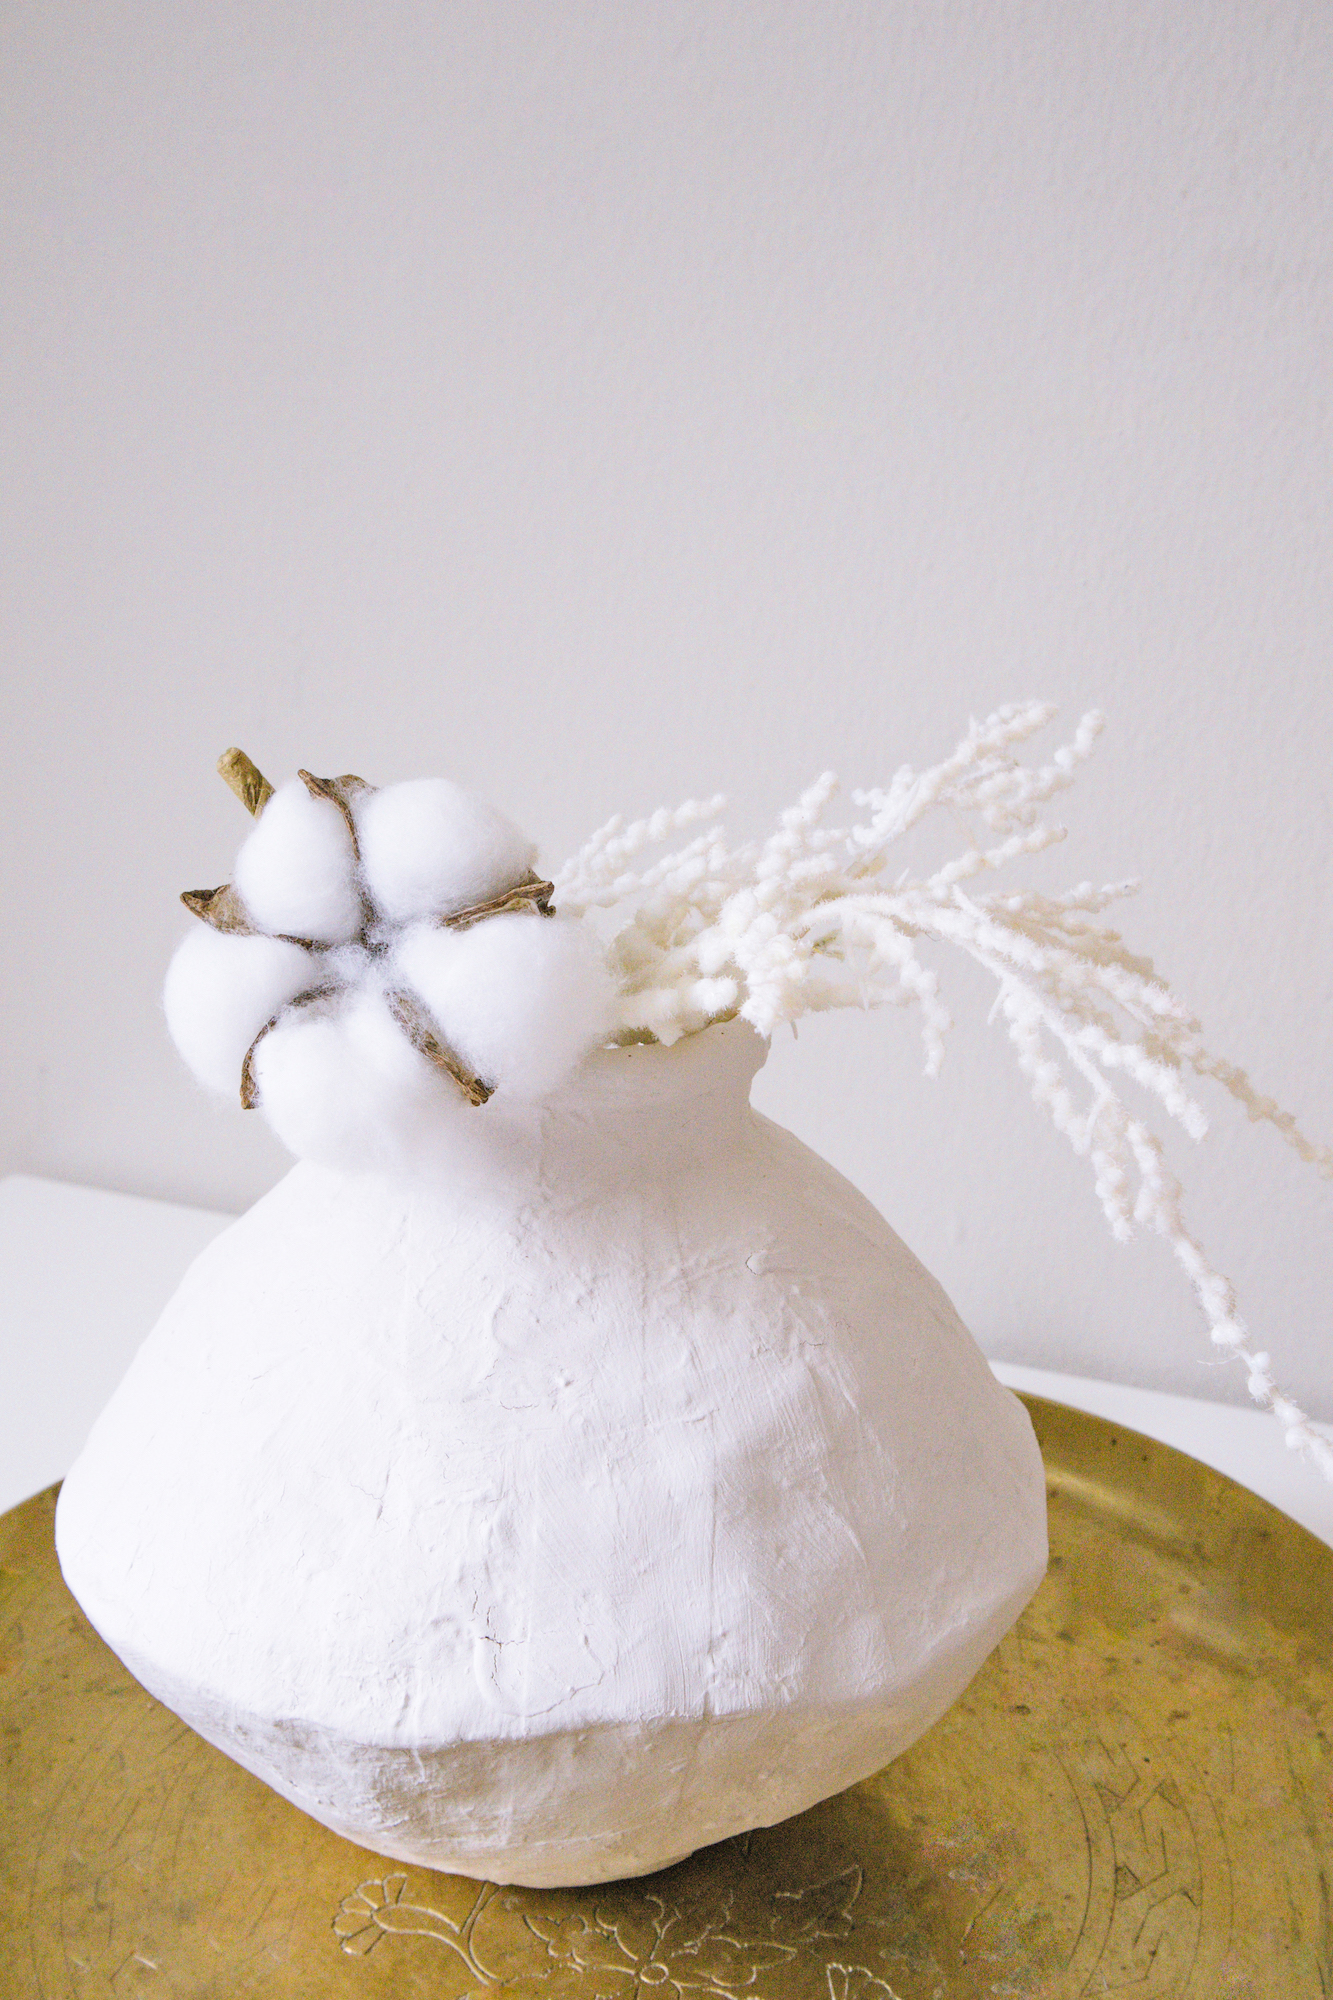
To make the shorter vase, I paper mached two bowl structures. One of the completed bowl shapes I flipped downside up and cut a hole in the most narrow part, to be the neck of the vase. I glued the widest sections together using a glue gun. I also glued cut cardbaord to lengthen the neck and give it a small lip (yes, I googled the anatomy of a vase to make sure I am using the correct names!).
To make the taller vase, I paper mached a small ballon for the bottom part of the body. The top part of the body I glued with a hot glue gun two bowl structures together at their widest spot and cut a hole on either side. If I were to do this one a second time I would only use balloons. I used cardbaord to create the base and the lip of the vase.

Once all the parts were glued together, I gave both vases two more layers of paper mache. Once dried, I then sanded any chunks of glue that were sticking out. As I decided to do thick coats of paint for a plaster-like aesthetic, sanding turned out to be unnecessary. However, if you are looking for a clean look, paper mache can be sanded quite nicely, just be sure to use a mask (which you probably have given the circumstances!) so that you don’t breath in a lot of flour.
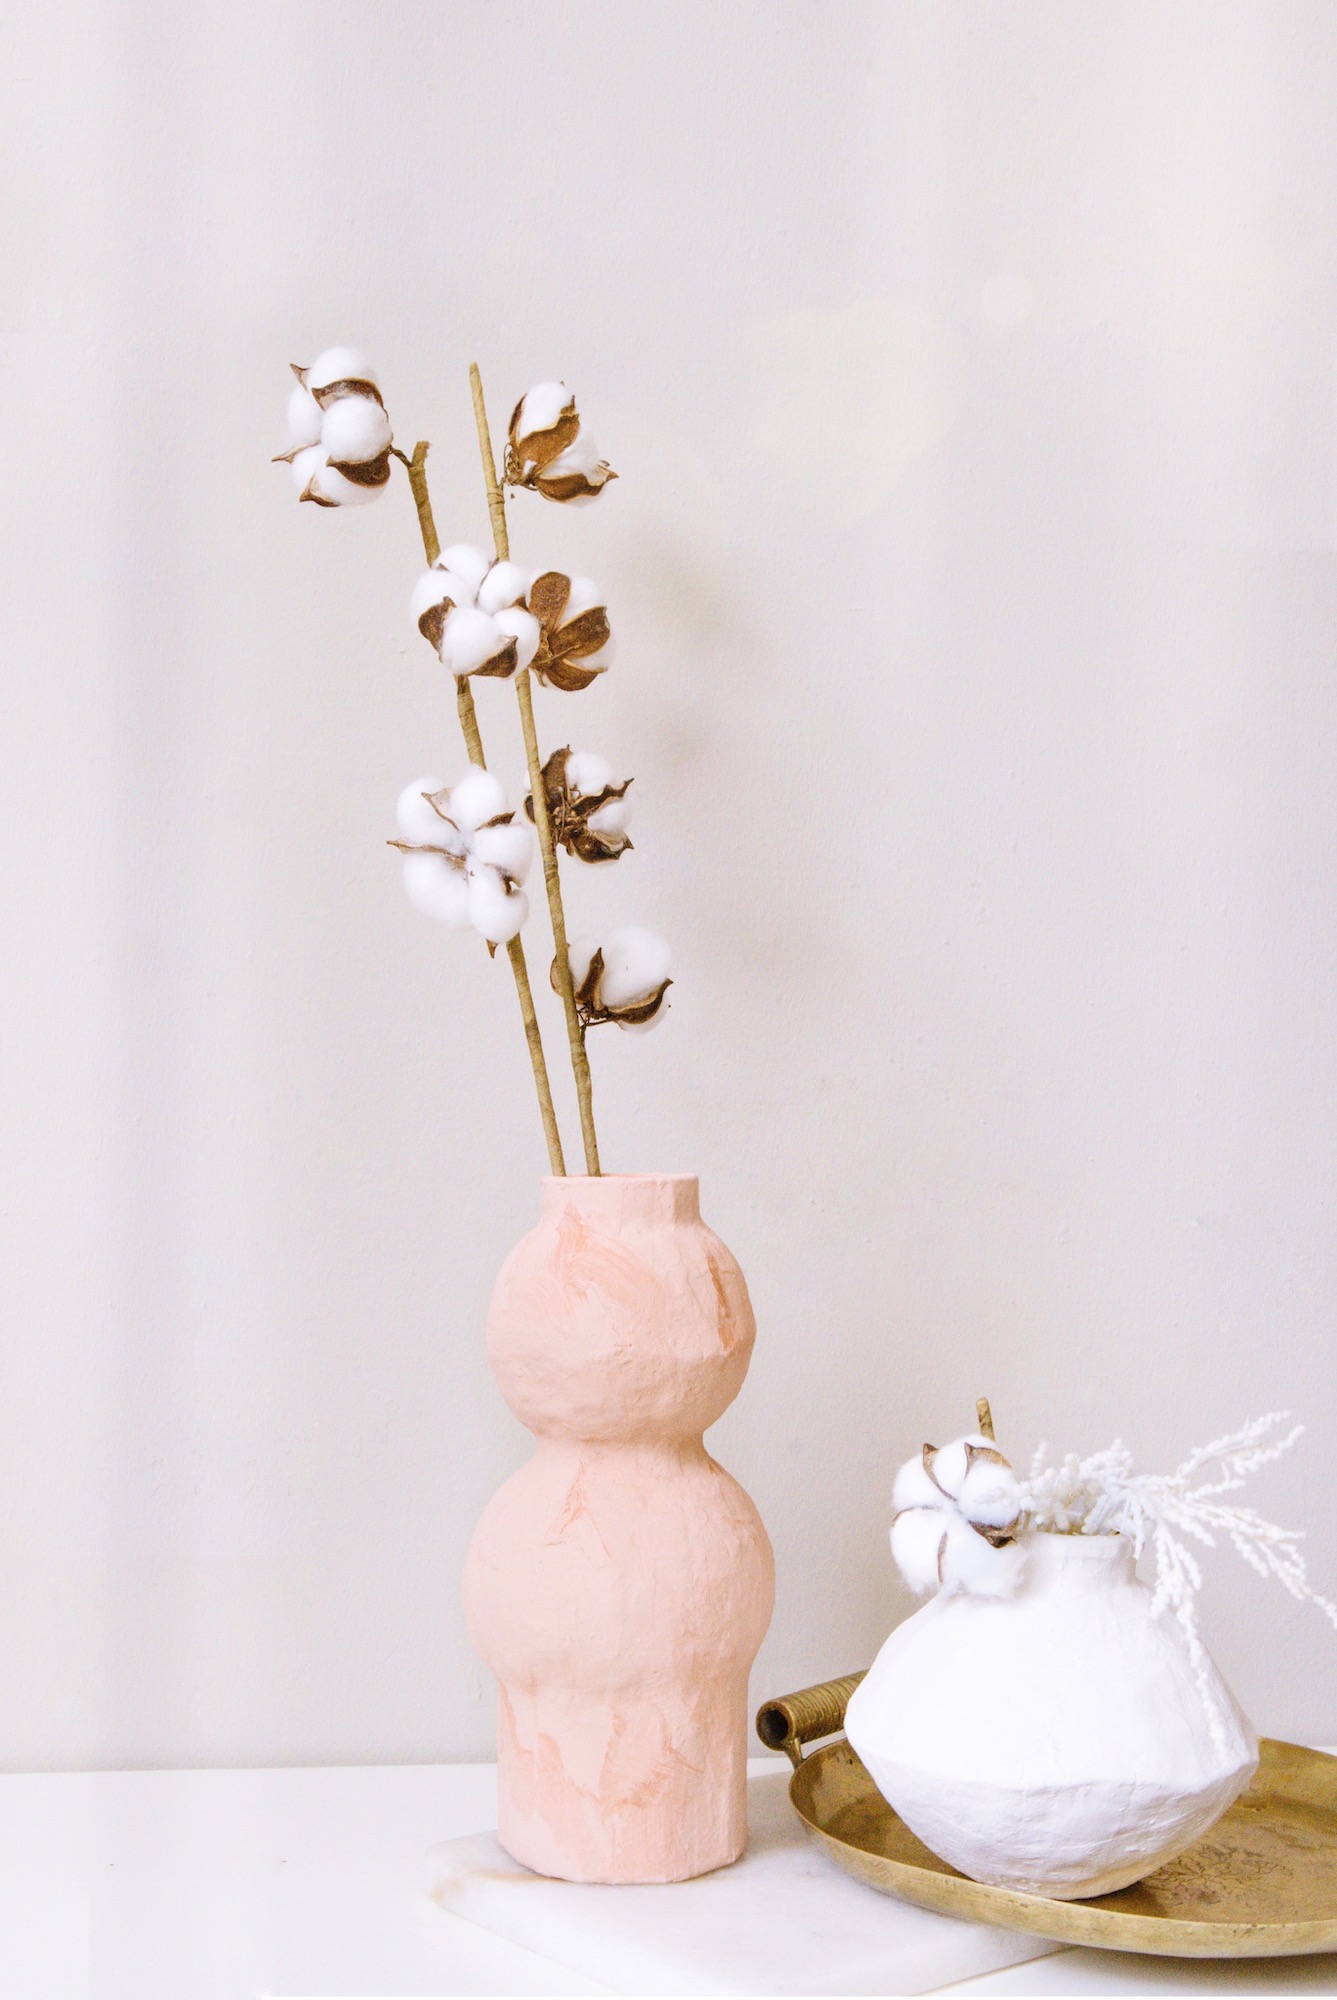
To get the plaster feel seen on the vases I made, I mixed regular, acrylic craft paint with baking powder. About an 1/8 of baking powder to paint (use less and it will have more of a chalk paint feel).
Lastly, allow paint to dry and then have fun styling! If you don’t have dried flowers, these easy diy dried palm fronds from kraft paper are a perfect addition!
*As an Amazon Associate I earn from qualifying purchases.

Interested in working more with paper mache? Try paper mache clay! I share the recipe in this blog post.

Have a wonderful Easter weekend!
xo Laura
Shop This Post


