
Similar to knitting, paper mache is one of those therapeutic crafts. Requiring little focus, paper mache can be done easily while listening to a podcast, watching a show, or simply giving you time to daydream. This DIY paper mache bowl is the perfect center piece for displaying our moss-covered paper mache eggs (find the tutorial here).

{{ This post contains affiliate links. These links don’t cost you anything extra, but allow me to run this site and provide free content for you. You can read the full disclosure here.}}
Below is a step-by-step tutorial on how I made these diy paper mache bowls
Begin by cutting strips of newspaper about 1/2 in by 5 in long. Mix the paper mache glue recipe by adding water to a 1/2 cup of flour until it has a white glue consistency. You can make more glue as needed. The glue can also be kept for multiple days in a sealed container, simply stir before using again. Read the Gilded Stork guide to paper mache glue here.

Next, cover a bowl with plastic wrap, this will allow for easy removal of the dried paper mache.

After preparing your structure, begin to layer on the paper mache. Dip the paper into the glue and run your finger along it to remove any excess glue. Place the paper onto the bowl. Continue this until you have covered the bowl completely. Because I wanted to create a more shallow bowl then the structure I had, I did not cover the base of my bowl structure in paper mache.
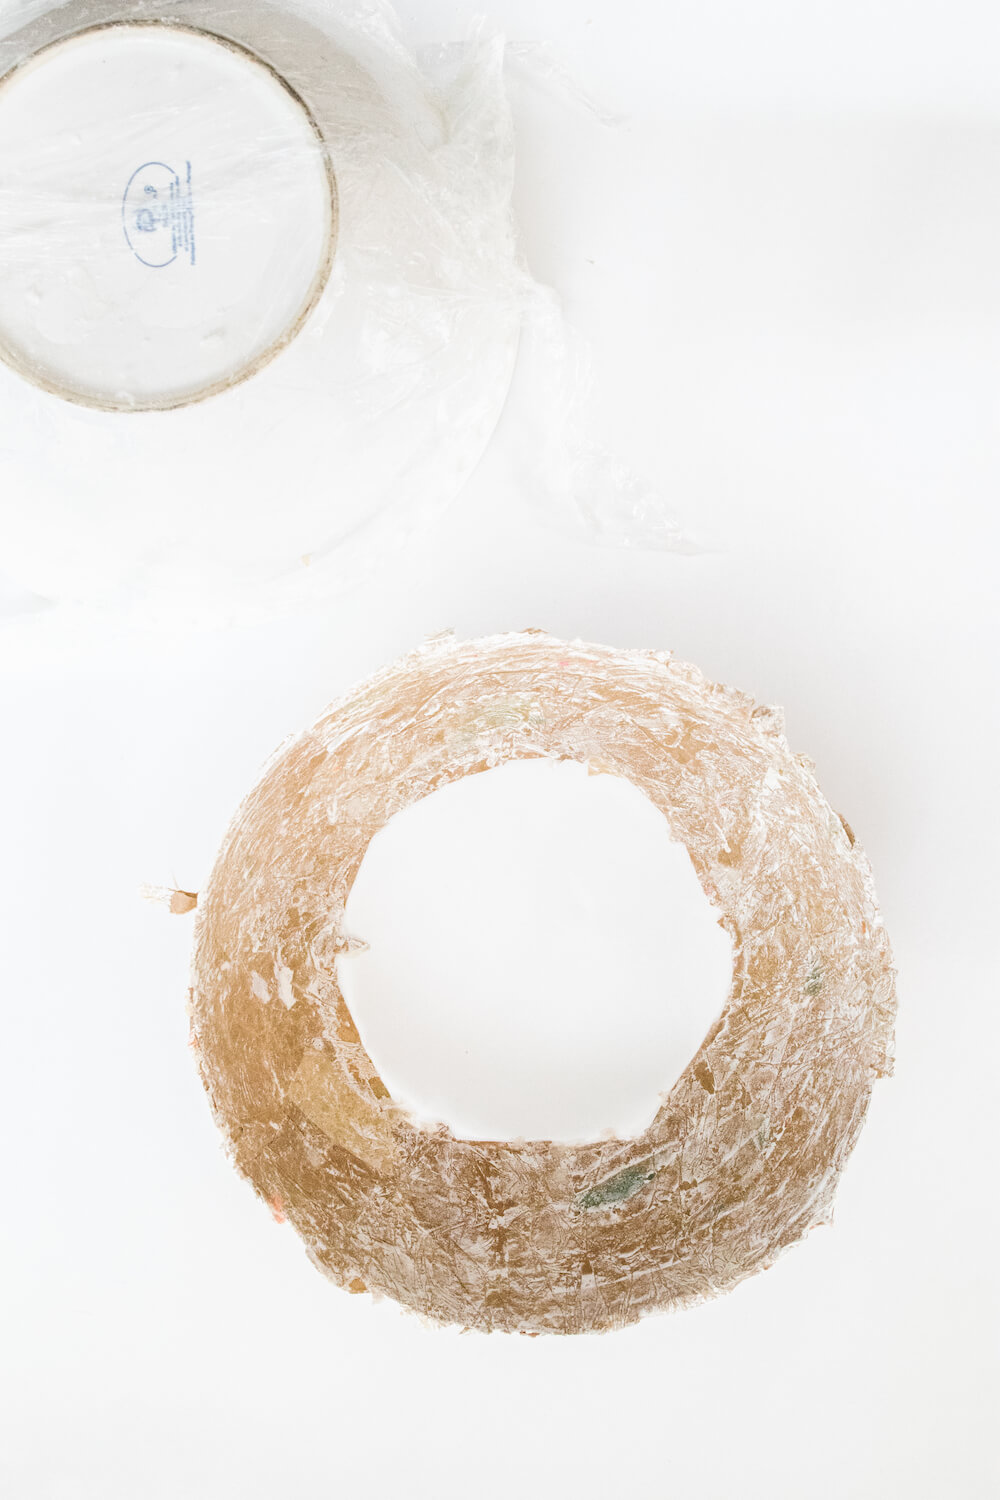
Allow to dry fully. I’ve found it takes about three to four hours for one layer of paper mache to completely dry. I did three layers of paper mache before removing them from the bowl.

After the paper mache has been removed, move on to making the base. Place a piece of corrugated cardboard under the paper mache. Trace the base to get an idea of the size.

Then use another circle shape that is a similar size to what you originally traced. Trace the lid/bowl/plate to create a perfect circle.

Next, cut the cardboard circle out and attach it to the paper mache using duck tape.

Prepare to make the lip of your bowl by removing one side of some corrugated cardboard. This allows for the cardboard to bend much easier.

After preparing the cardboard, cut a few strips from the cardboard that you can then wrap around the base and top lip of your bowl. Use duck tape or hot glue gun to adhere the cardboard to the paper mache.
Give the entire bowl another layer of paper mache.

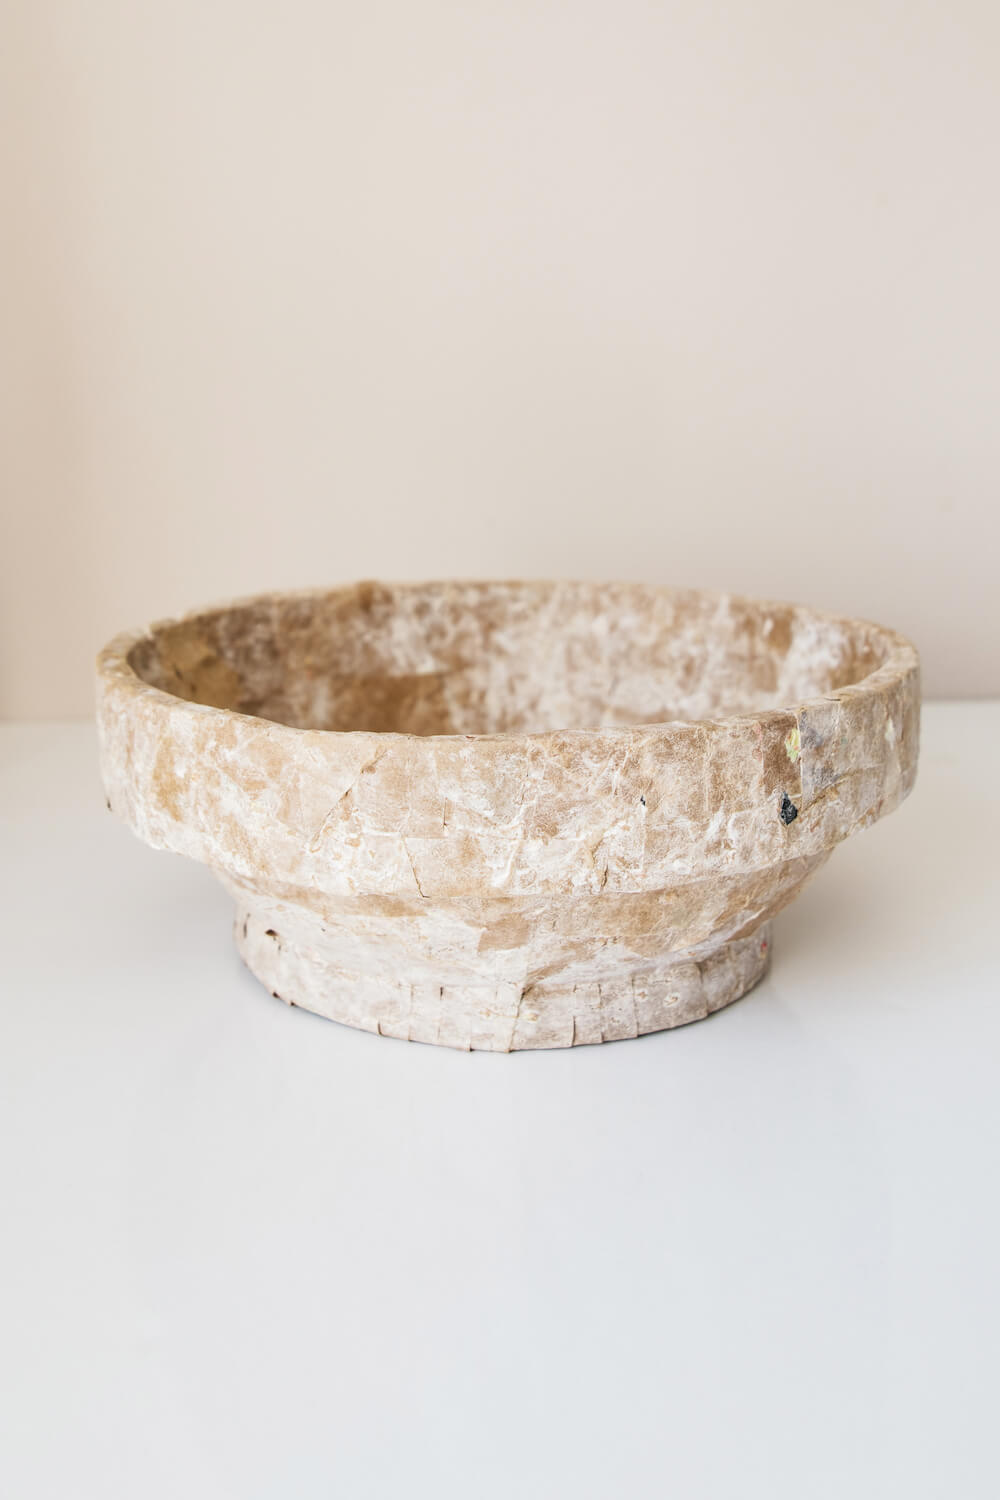
To complete your diy paper mache bowl, paint the bowl your desired color choice in an acrylic craft paint. The acrylic paint will help seal the paper mache. Allow to dry.


