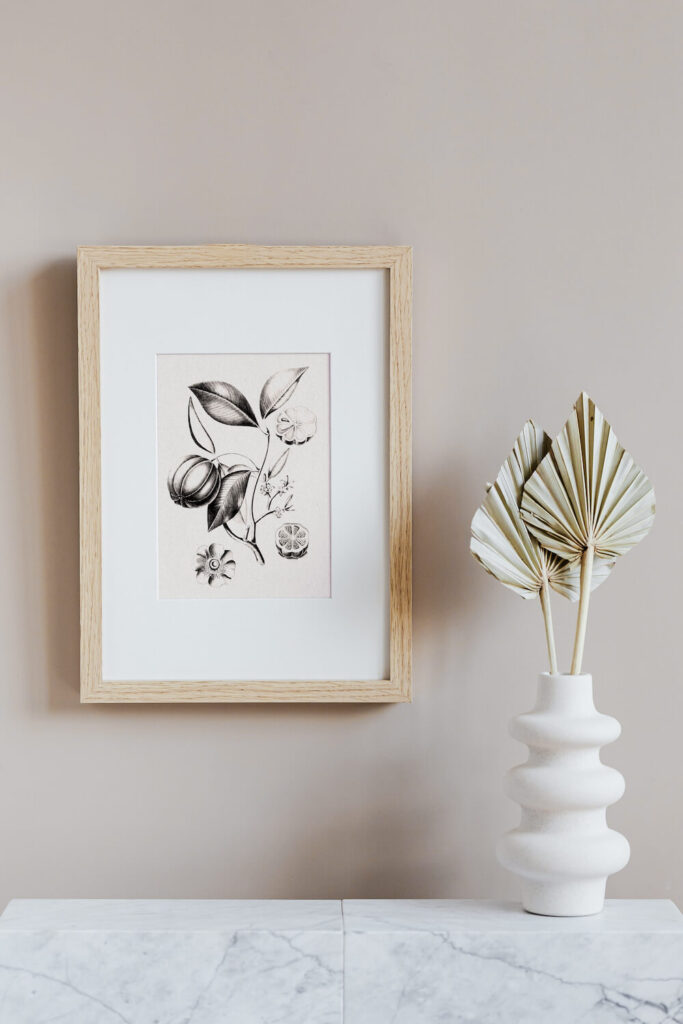
These dried raffia palm fronds are a fun, natural accent to give your home a relaxed, tropical oasis vibe!
Whether through wood, baskets, clay, etc. I love accenting our home with natural elements. Adding natural elements to our home can result in it feeling more relaxed and peaceful. I saw some raffia items on Urban Outfitters that just felt perfect for a casual summery vibe. These led me to brainstorm a million other ways raffia could be used. These easy-to-make raffia dried palm fronds are what I came up with first. And you know I love a good palm frond DIY (see my kraft paper palm frond DIY here). They look beautiful in my DIY modern paper mache (find the paper mache tutorial here).

The knotted technique used for these raffia palm fronds is the same knotting technique used to make macrame feathers! Once you have the technique down there are so many other fun boho crafts that will come easily to you.
{{ This post contains affiliate links. These links don’t cost you anything extra, but allow me to run this site and provide free content for you. You can read the full disclosure here.}}

Materials You Will Need:
- Raffia
- A material that bends and keeps it shape such as wire or bamboo bento picks.
- Wooden or bamboo skewers or dowels
*As an Amazon Associate I earn from qualifying purchases.


Step 1:
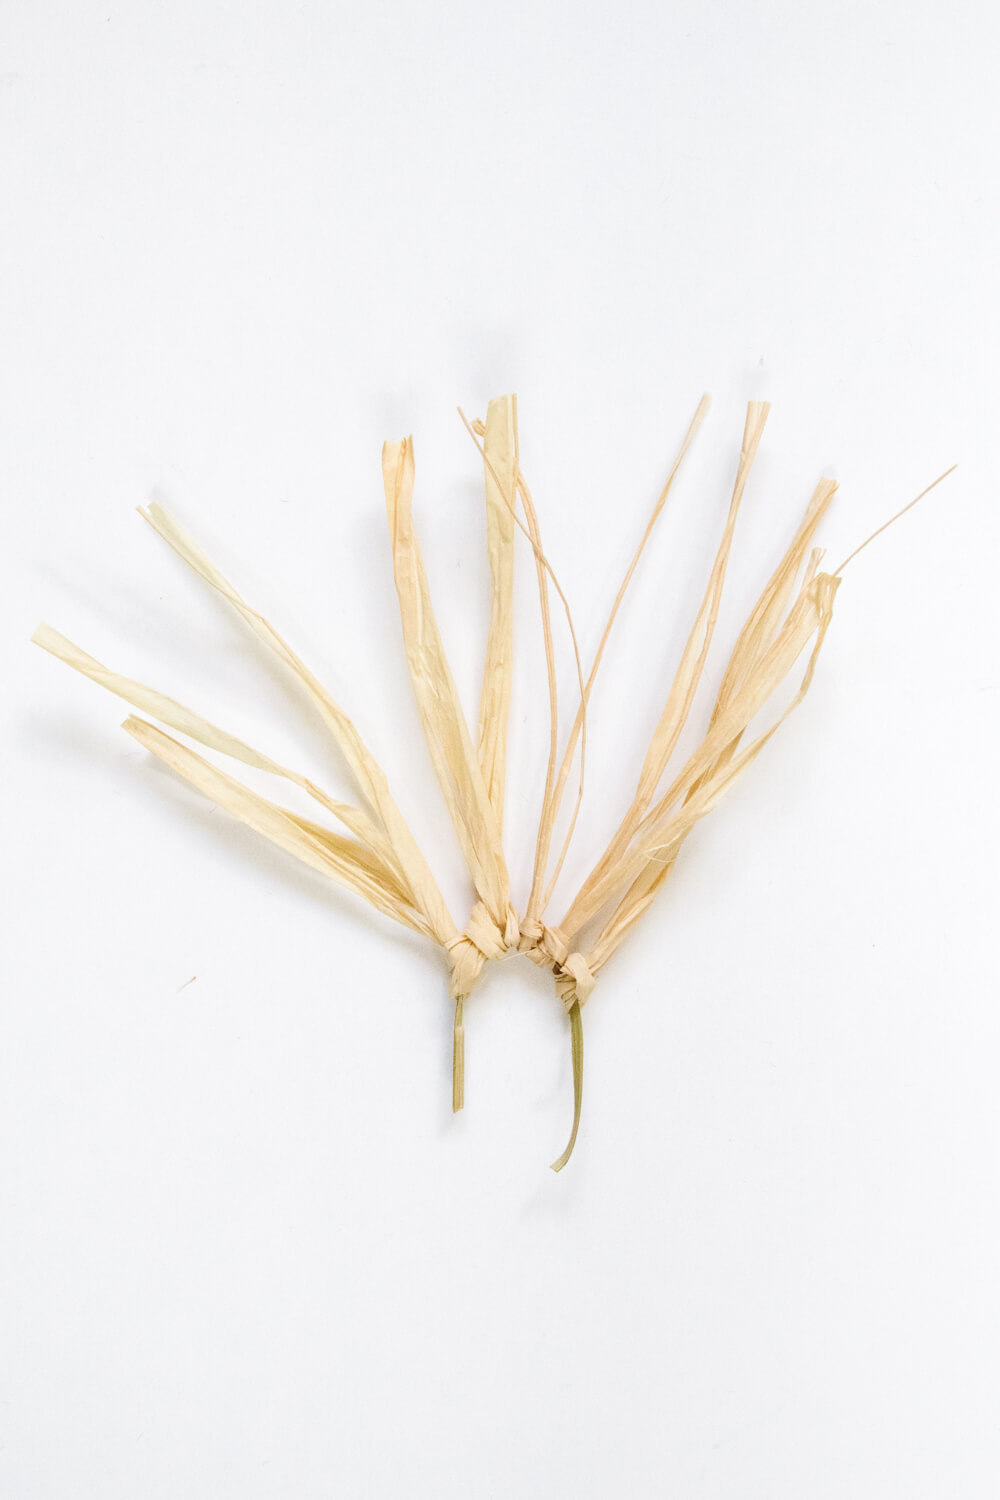
Start by making the top loop by forming a “C” using your wire or bamboo pick. Create a knot with the raffia around the C shape by folding the raffia to create a loop that crosses the C, then push the loose raffia ends over the C and into the open loop, pull to tighten. See the above step-by-step images for visual instruction. Do this step several times with separate pieces of cut raffia.


Step 2:
Next, move to knotting the first raffia piece to the skewer. This piece will also hold the top C shape. Similar to the very first knot, fold a piece of raffia to create a loop underneath the skewer. Take another folded raffia piece and tuck the folded end underneath and into the loop. Carefully take the first raffia loose ends and tuck them up into the loop created by the second loop. Hold both raffia piece’s ends and pull tightly to secure the knot.

Step 3:
Push this first knot up to the top of the skewer and tuck the ends of the C into the knot onto either side of the skewer. I found it helpful to use a small dab of hot glue to secure these pieces positioned together at the top of the skewer.
Step 4:
Finally, continue knotting more raffias pieces to the skewer as made in Step 2 and pushing them up to sit snug against the knot above.

I’ve been loving having these raffia palm fronds on my dining room table. Tomorrow I will be sharing how I made the paper monstera leaves seen in the above photo.

If you enjoyed this boho craft, you will probably also enjoy making the above paper palm fronds. Find the tutorial for how to make them here.
Shop This Post