
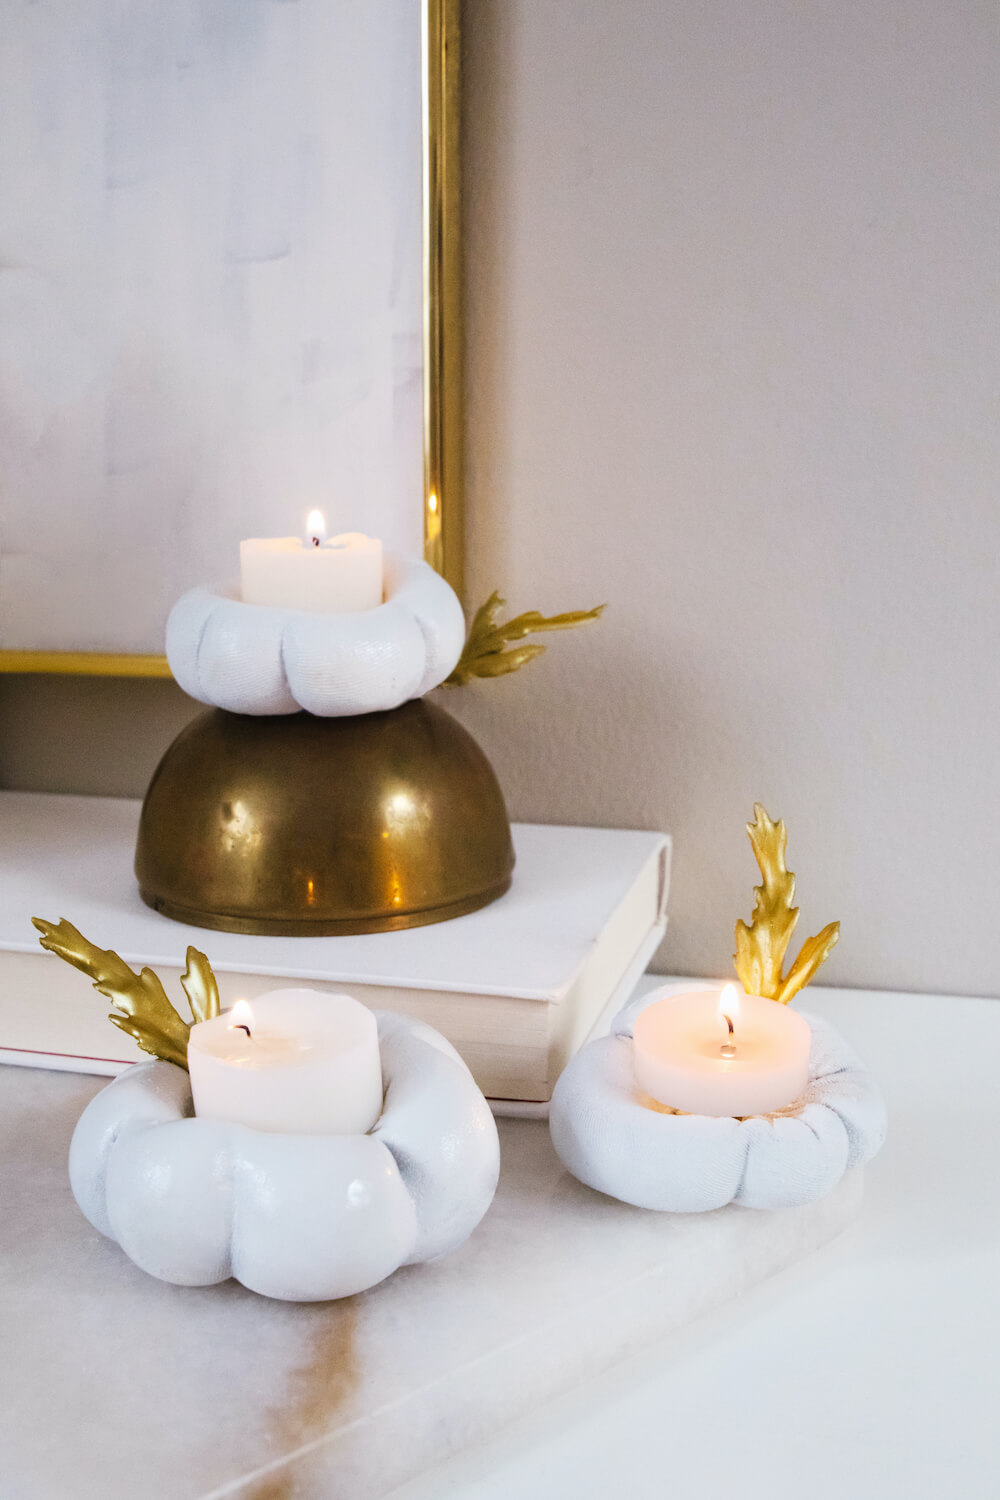
This post contains a step-by-step tutorial on how to make Plaster of Paris pumpkin candle holders, an easy craft to decorate your home for Fall.
Sometimes with seasonal crafts, it can be difficult to find ones that work with a variety of home decor styles. These pumpkins can seamlessly work with modern home decor or traditional home decor (or if you’re like me and love an eclectic mix of styles!).

They are the perfect addition to any Thanksgiving table.
I was surprised at how these are such an easy craft to make at home in under an hour!
If you enjoy crafts to decorate your home, the top image displays these DIY Paper Mache Vases, and these DIY Rafia Palm Fronds. This blog is all about DIY modern home decor!
How to Make Plaster of Paris Pumpkin Candle Holders
*As an Amazon Associate I earn from qualifying purchases.
Materials You Will Need:
- Plaster of Paris
- A pair of tights
- Cord, yarn, or any type of firm string
- Tea lights
- Plastic cling wrap
- Faux foliage or faux flower leaves
- Paint
A Note on Plaster of Paris:
Plaster of Paris is traditionally made for repairing plasters walls and ceilings. Because of its affordability, pourability, and fast-drying nature (sets hard in 20-30 minutes!), it is loved by many sculptures and crafters. You can find it at your local hardware store or online.


Making the Plaster of Paris Mold
Begin by creating the mold that will contain the plaster of paris.
Cut the end (toe area) off your pair of tights. Then cut a piece about 5-6 inches in height, creating a tube. Tie a tight knot at one end.
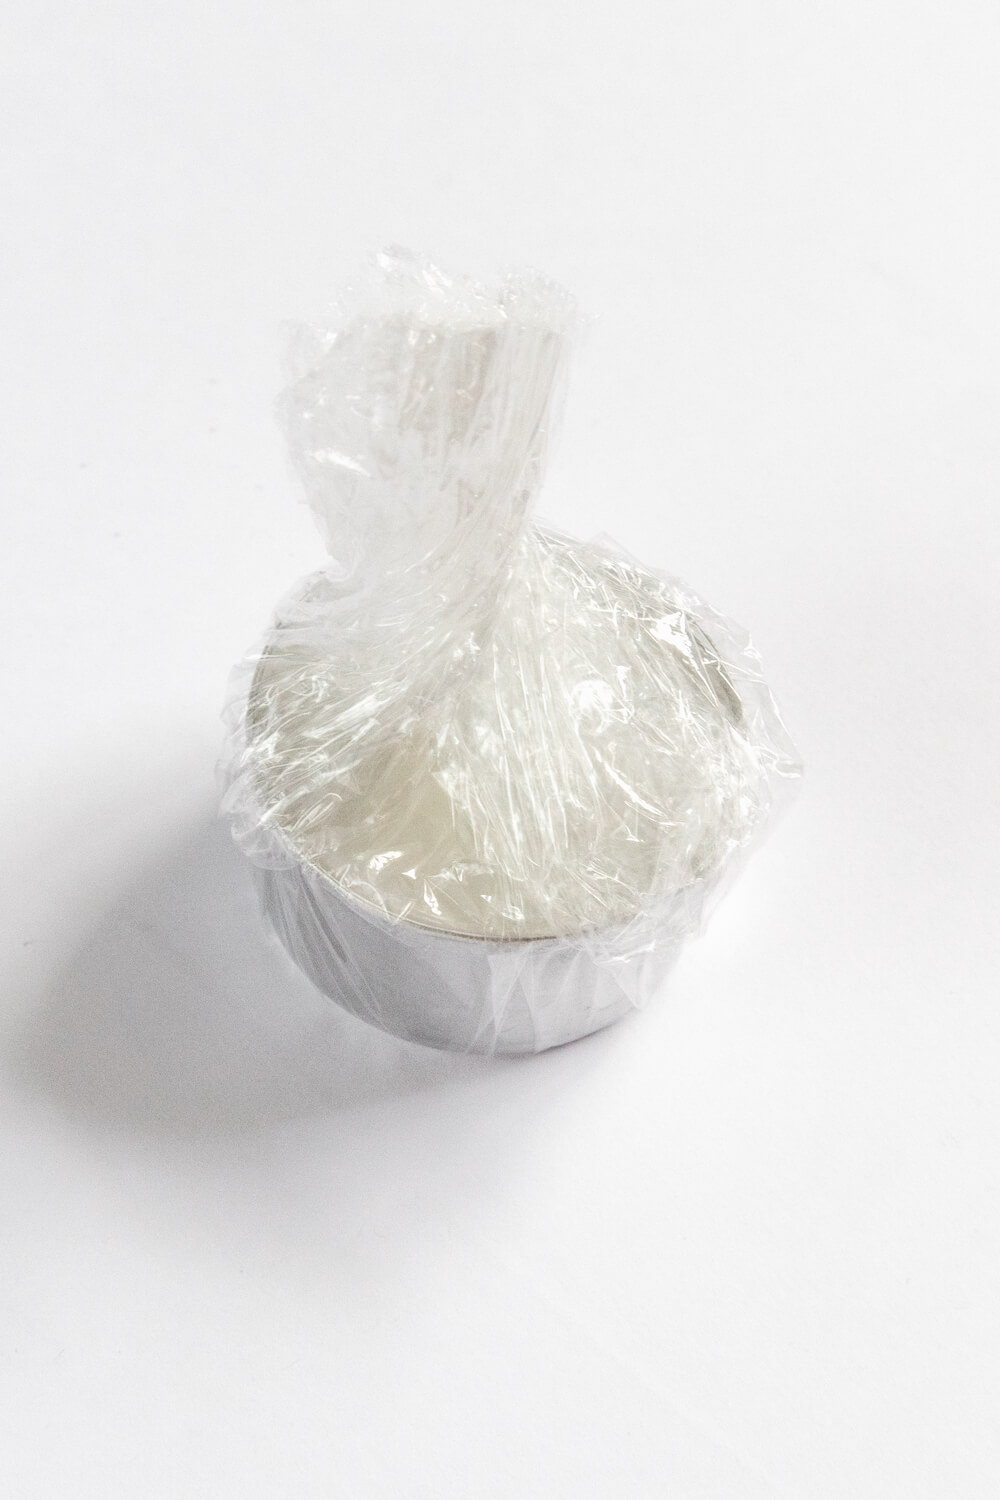

Protect your tea light from the plaster by placing the candle in the center of a small square of plastic cling wrap. Bring the corners up and twist sealing the candle. Cut any excess plastic off
Cut 4 strands of cord, each about 16 inches long. Then lay them across each other creating a star.

How to Work with Plaster of Paris
The ratio found on the back of the Plaster of Paris box is 2 cups Plaster of Paris to 1 cup water. I found this a bit too runny for the fabric mold, so lessoned it to 2 cups Plaster of Paris to 3/4 cup water. This amount was perfect for one pumpkin.
It is best to only make the mix for one pumpkin at a time and pour it immediately. Plaster of Paris dries fast! Hardening within 5 minutes and fully setting within 20-30 minutes.
Tips for Pouring Plaster of Paris
The first two pumpkins I made, I mixed the material in a yogurt container and scooped it into the mold with a plastic disposable spoon. I found this messy holding the mold open and scooping in the mix quickly.
The third time I decided to create a funnel with a piece of paper and pour the ingredients into an empty, clean cream carton. This way I was able to screw the lid on and shake it up, then pour it into the mold much more conveniently.
Be sure to stay safe and wear a mask and gloves while working with Plaster of Paris.

Shaping the Pumpkin
Once your Plaster of Paris mixture is poured into the mold, tie the end and cut any excess fabric off.


Place the mold into the center of your star cord. Add the plastic cling wrapped tea light to the top center of the mold, above the knot, and tie the cords above, tightly pushing the tea light down into the plaster.
Excess water will come out of the mold, so be sure the surface you are working on is easily able to be cleaned down or tossed – don’t attempt this craft on your beautiful dining table!
Once dry, I then painted the pumpkins with high gloss paint, to catch the light of the candles. If you prefer a matte look, you can leave the pumpkins and not paint them.

How to Make Plaster of Paris Pumpkin Foliage
I am aware that the gold foliage on this Fall craft are not accurate to an actual pumpkin vine leaf, however, I think they do add a special touch!
I also apologize that I unfortunately forgot to photograph this part, so I will do my best to explain the process:
Cut faux foliage or the leaves off a faux flower stem so that you have pieces that work with the proportion of your pumpkins, about 1 1/2 inch to 2 inches in height.
Mix a small amount of the Plaster of Paris, about 1/2 cup Plaster of Paris to 1/4 cup water in a small container. Dip the foliage into the plaster mixture and then place on to a piece of plastic wrap to dry.
Once dry, paint with gold paint and glue with a hot glue gun into the center of the pumpkins.

What are your thoughts?! Would you try these? Do you prefer more subtle seasonal decor that integrates into your home, or do you go BOLD? Let me know if you make these Plaster of Paris Pumpkins to decorate your home!

OTHER POSTS YOU MIGHT LIKE


