Glitter is the perfect embellishment to add a vintage feel to your holiday decor (think tinsel tree/anthropologie vibes!)
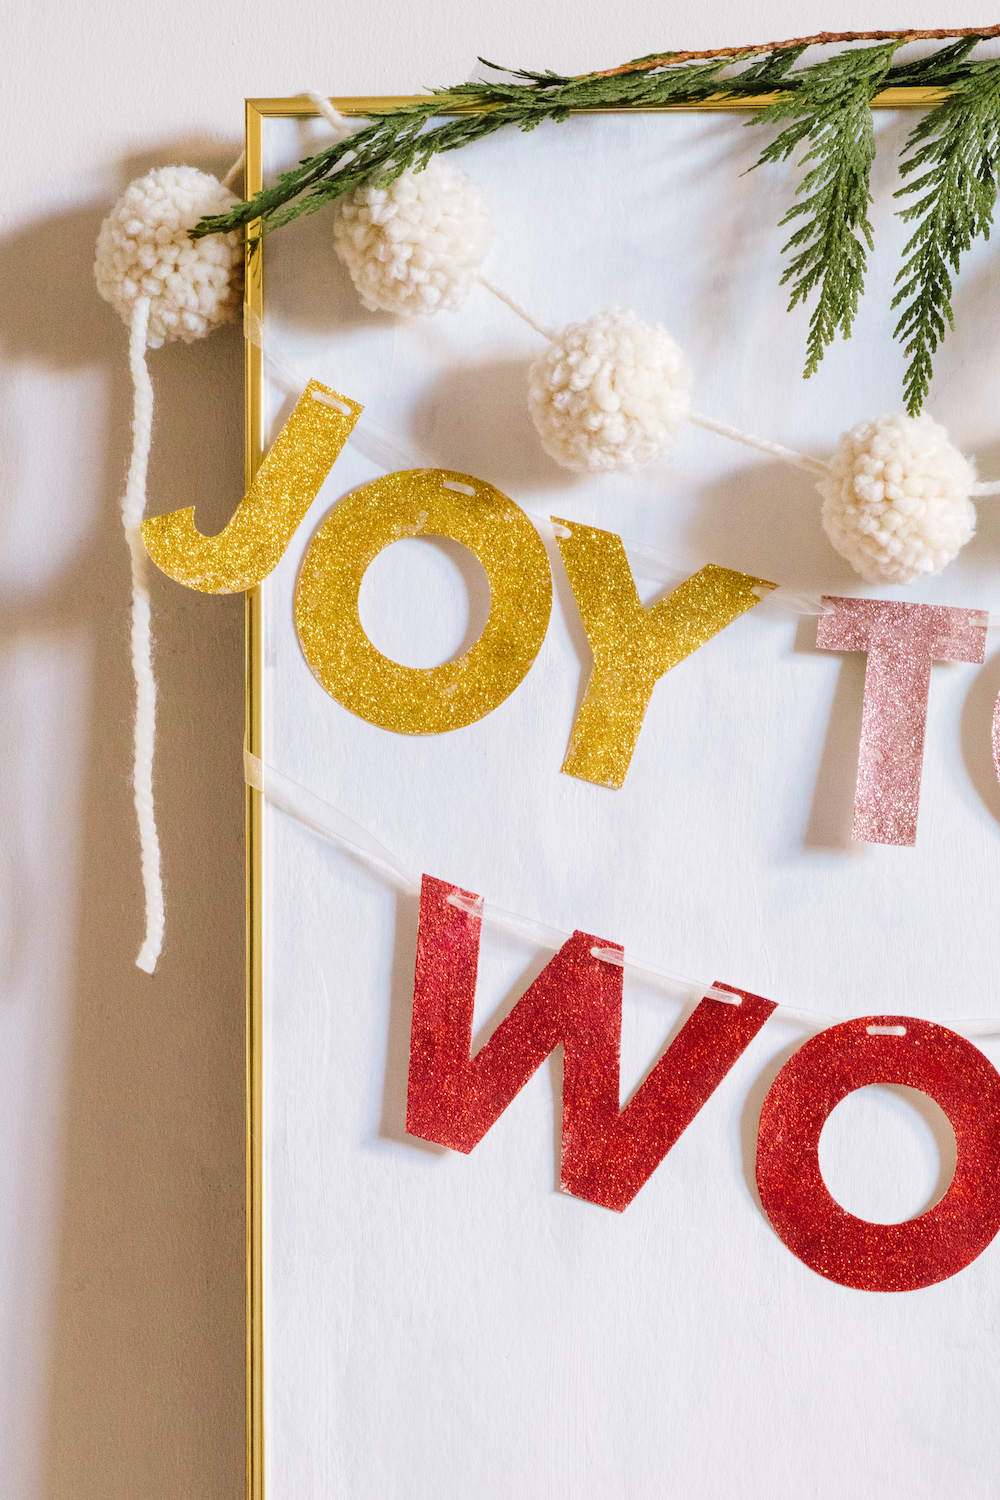
The problem with glitter? Glitter crafts typically end up coating more than just your craft’s surface AND leave a trail of pesky glitter behind for years to come! This post includes my top tips for crafting with glitter, while glittering this free “Joy to the World” garland for your Cricut cutting machine or for printing and cutting out with a craft knife.
{{ This post contains affiliate links. These links don’t cost you anything extra, but allow me to run this site and provide free content for you. You can read the full disclosure here.}} *As an Amazon Associate I earn from qualifying purchases.
Another option for this playful, typography garland is to cut the letters out of glitter cardstock. However, I love the possibility of color combinations provided using this collection of Martha Stewart glitter.
Layering this garland with other textured garlands adds such a beautiful touch! Find the tutorial for a DIY pom pom maker Cricut SVG design and printable template to help you make perfect pom poms here.
Materials You Will Need
- Glitter in a variety of colors
- Regular weight card stock
- “Dry clear” white glue
- Yarn, ribbon, or twine
- Hole punch or screw punch

Get the password below to download this template from the Craft and DIY Resource Library which you can login to here.
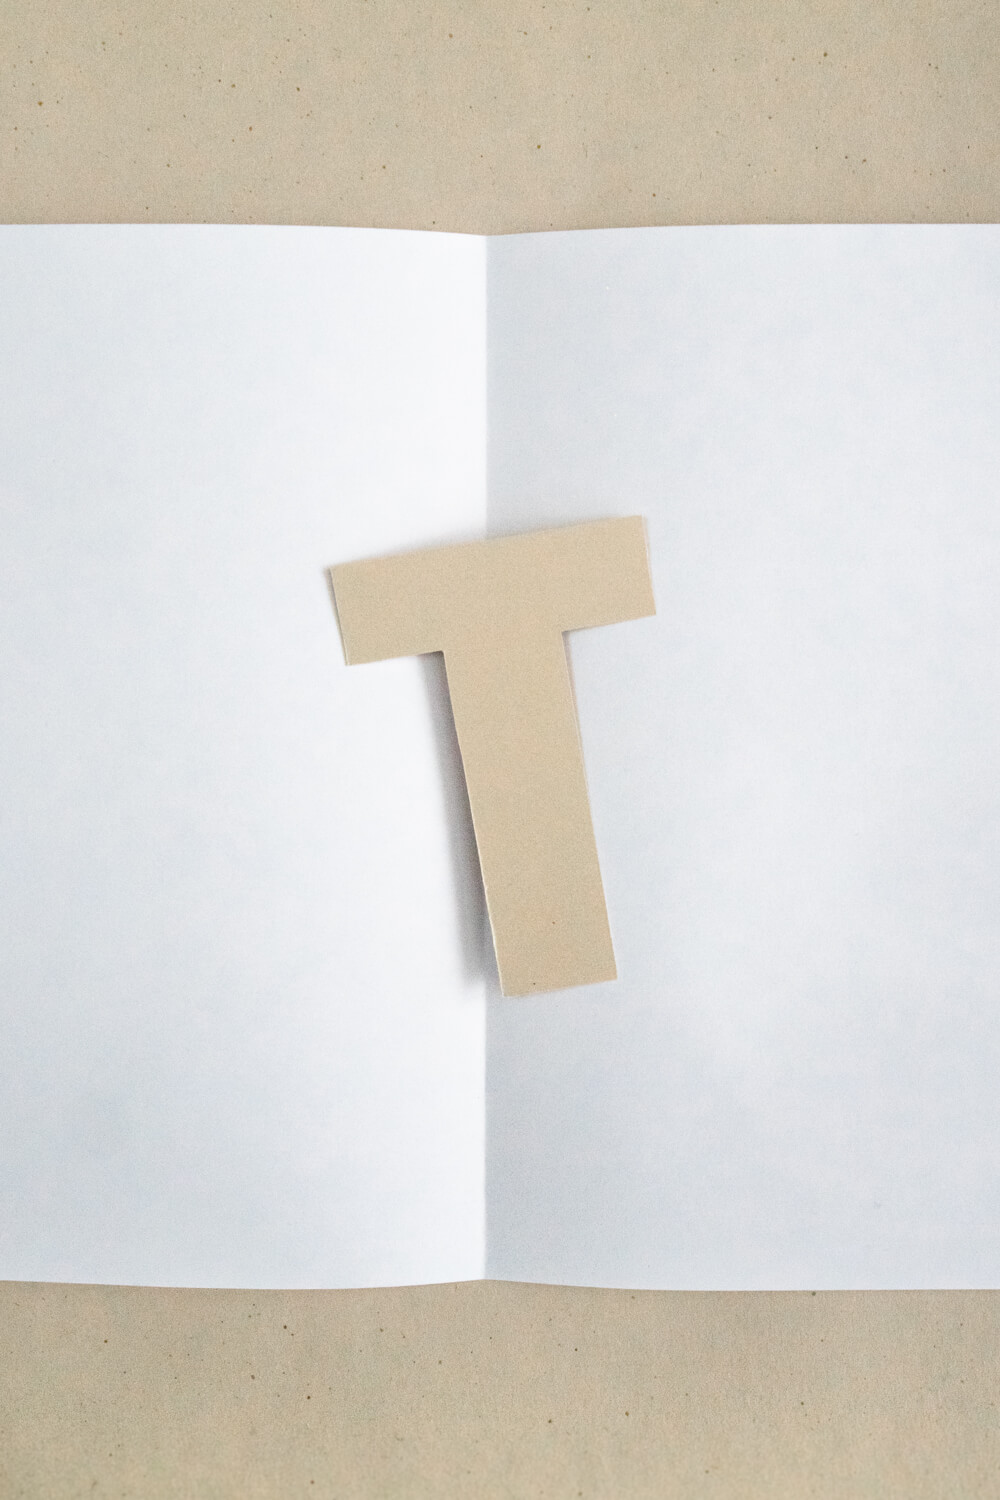
Begin by cutting out the “Joy to the World” garland using your Cricut machine or with a craft knife from a regular weight card stock.
My Top Tips for Crafting With Glitter on ANY Surface
I did both some research and experimenting to determine my favorite way to glitter crafts.
Preparing Your Workspace
This first step is key, prepare your workspace for glittering by taking one sheet of printer paper or a piece of recycled paper. Fold the sheet in half and crease the fold with your finger. Then open the paper again and lay it flat on your table. The crease created will be used to funnel the excess glitter back into its container.


Adhering the Glitter
For some reason, I had this idea in my head that white glue would take away the sparkle from glitter. I also don’t love working with white glue as it tends to be a messier way of adhering materials. Because of this, I looked into other ways of glue the glitter, namely double-sided tape, and spray adhesive. However, I can confirm for myself, that simple white glue works THE BEST for both adhering and securing your glitter. The “dry clear” glue will not reduce any sparkle and does the best job at getting the most contact with the multitude pieces of glitter.
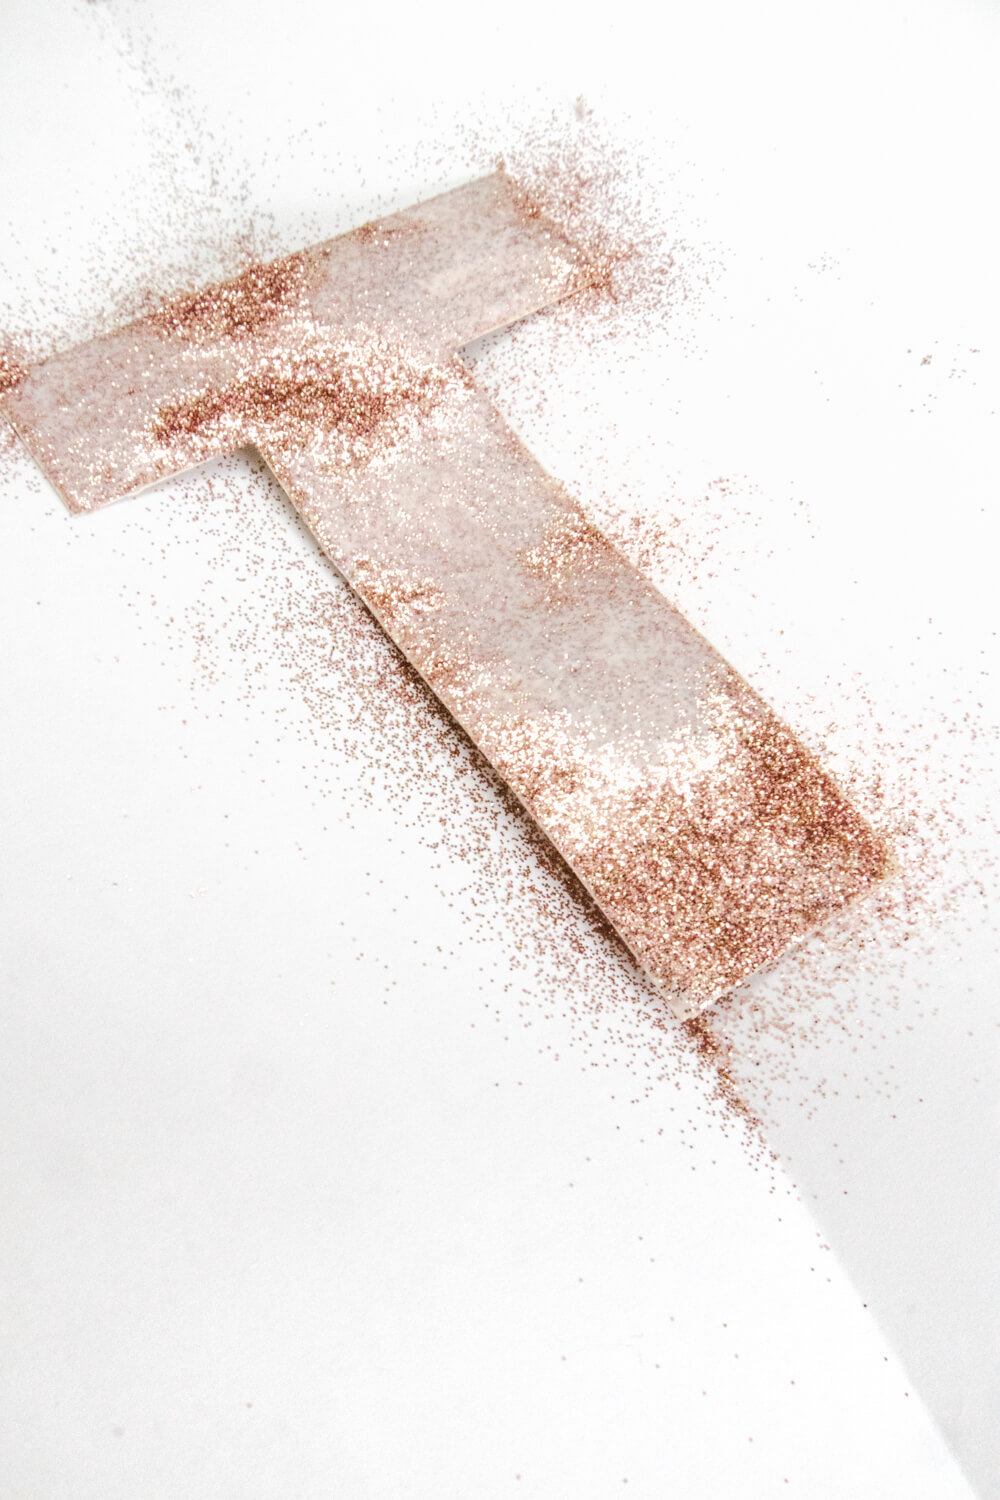
You will need to fully coat one side of a letter in a thick coat of white glue. Keep in mind to work one letter at a time – glue, then glitter, so that the white glue does not dry too quickly.
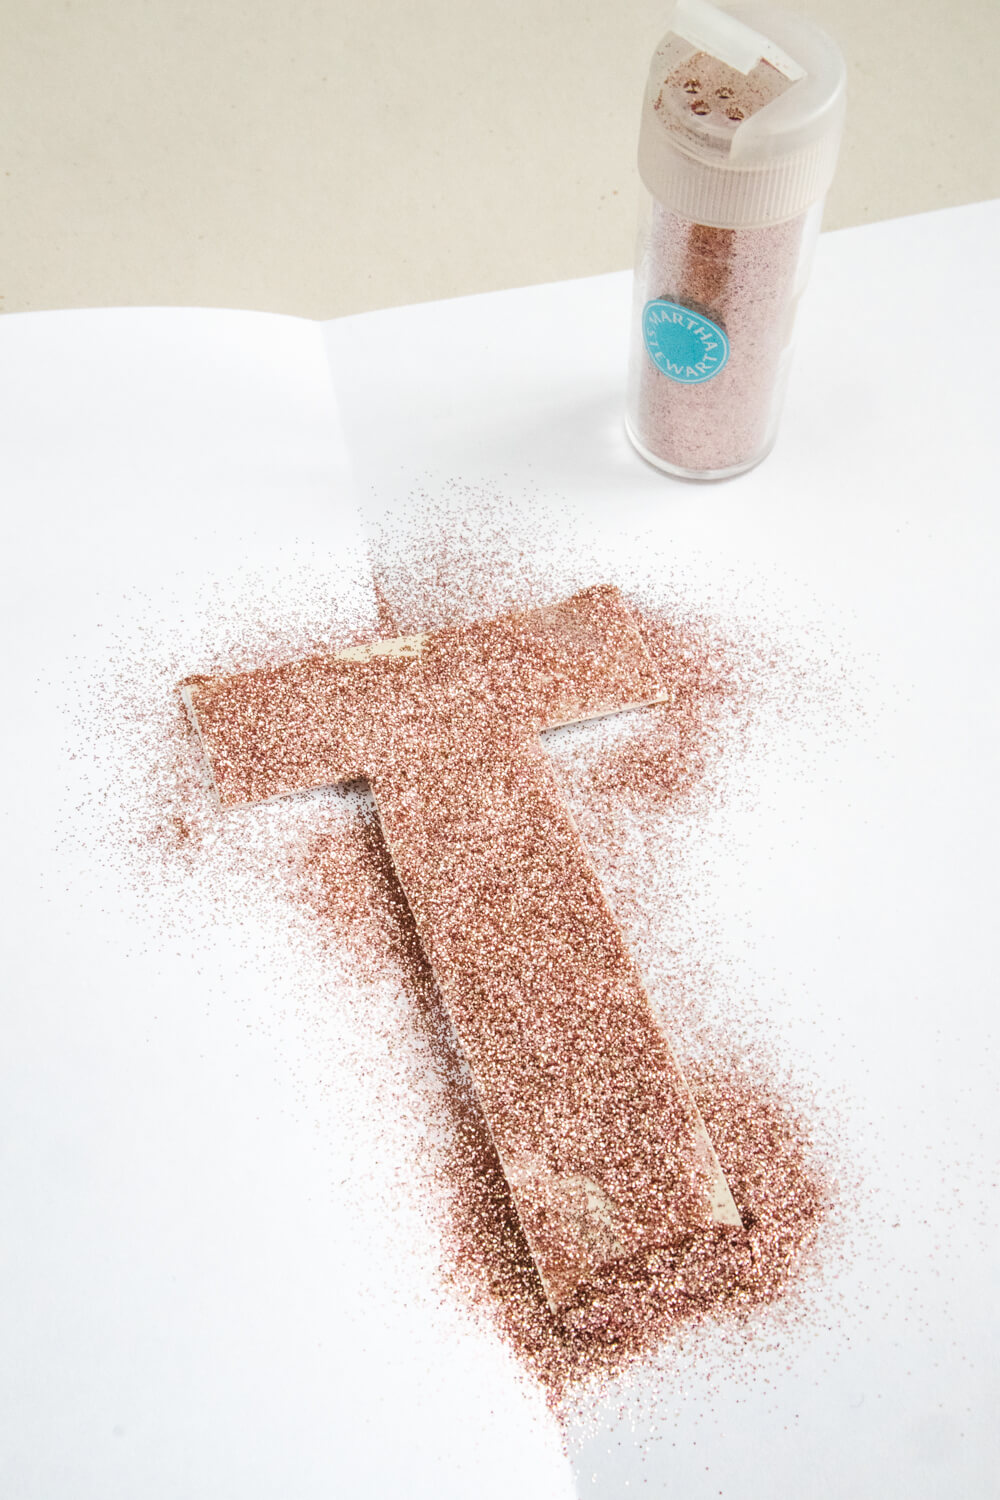
Then place the letter onto your creased paper workspace and fully cover it in a heaping of glitter. Let it sit, allowing the glue to fully dry.

Cleaning Up Your Glitter Workspace
Once dry, tap the letter onto your paper to shake the excess glitter off. Then place your glittered object off to the side, gather the paper ends and fold to create a funnel to slide the glitter back into its container
Sealing Glitter
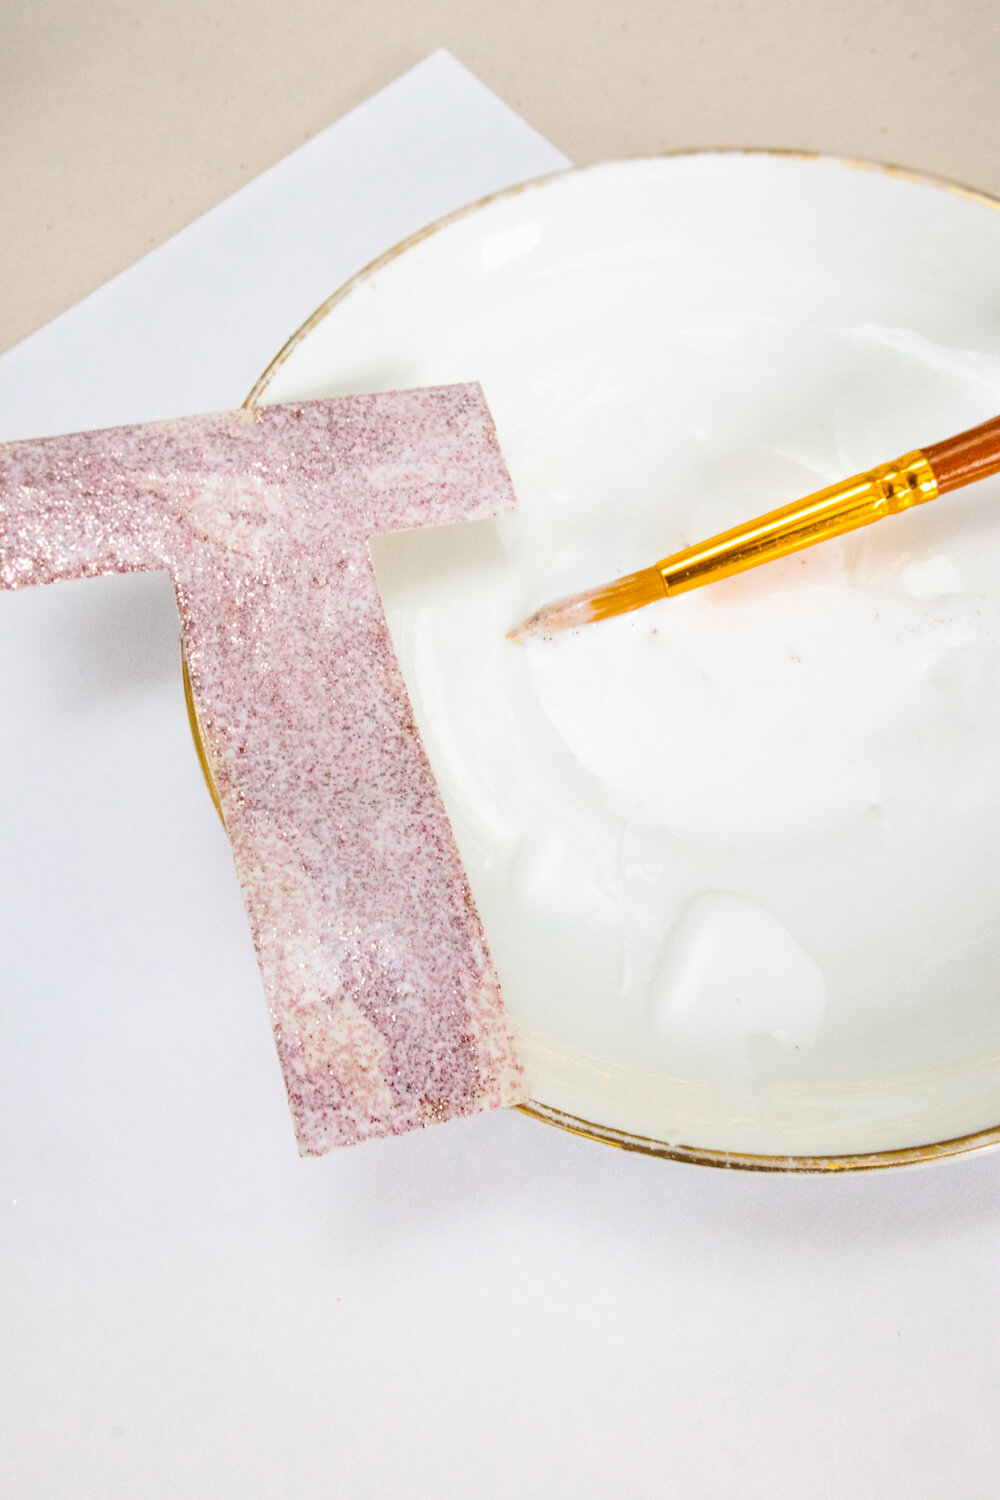
To seal the glitter (to not have a trail of glitter following you for years to come!), cover your object in another coat of glue. You may find the glue easier to work with at this stage if watered down ever-so-slightly.
Allow the top-coat of glue to dry. If there are any patchy areas of cardstock peeking through, repeat the above steps with spot treating.

Putting Your “Joy to the World” Garland Together
To make the garland, use a hole punch or screw punch to add holes to the top of each letter. Then thread a ribbon or twine through each letter, evenly spacing them apart.


