This DIY pom pom maker template will help you make the perfect pom pom sizes for embellishing your holiday crafts
Pom poms are such a staple festive and cozy decor element. They can be added to pillows, hung as ornaments, used as gift toppers, strung on garlands, and so much more! This DIY pom pom maker template allows for endless creativity!
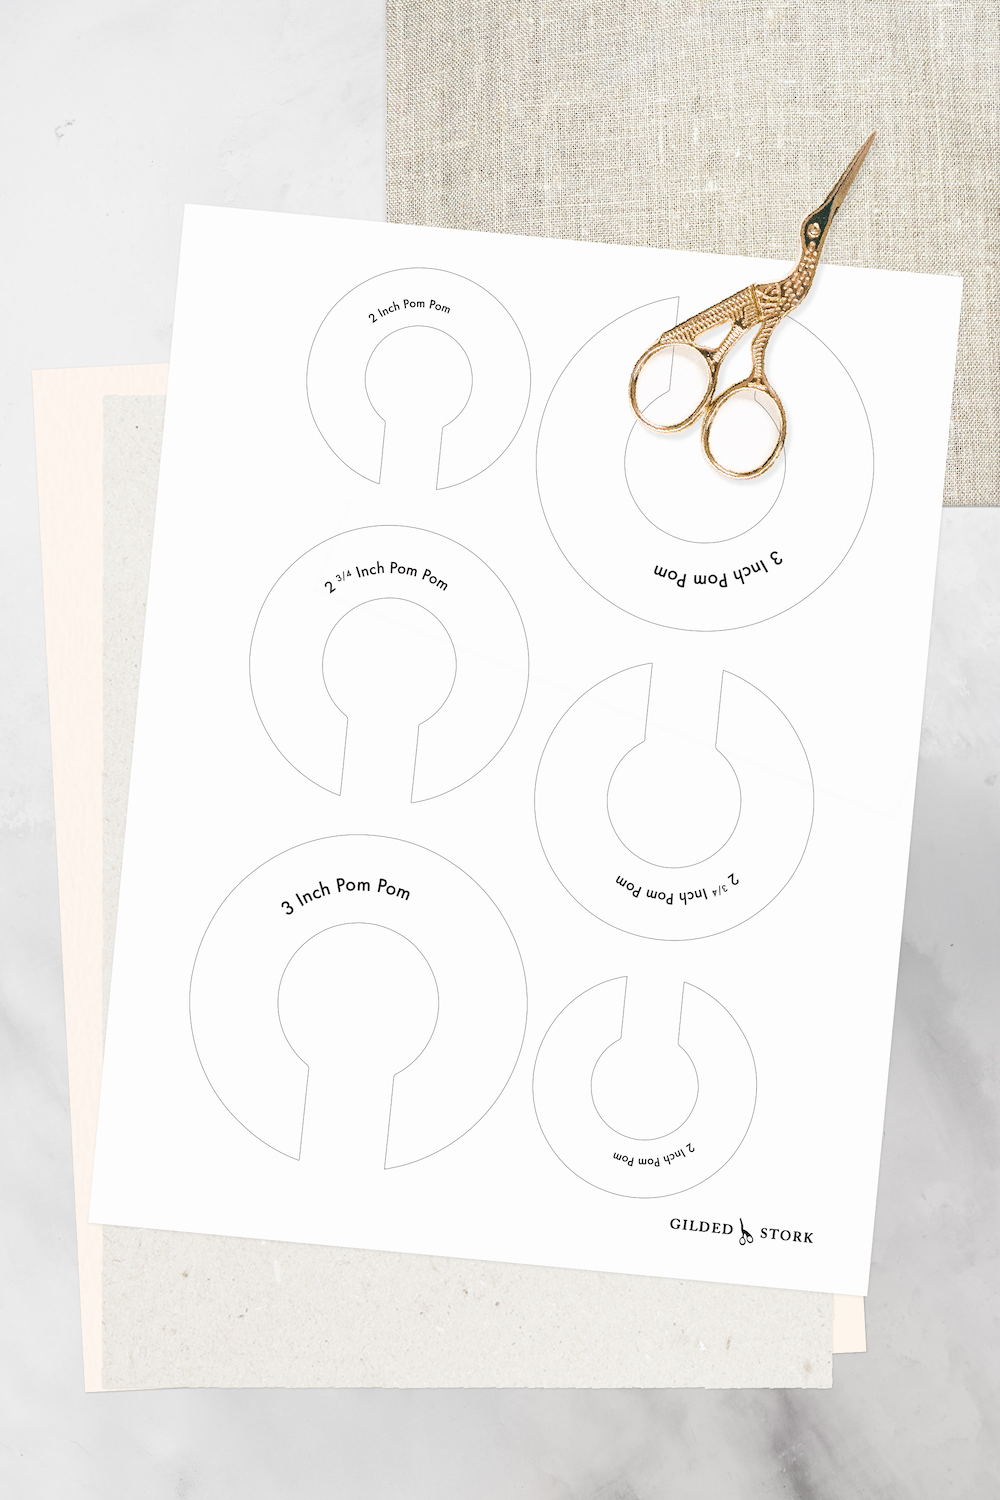
Scroll down to get your free downloadable printable for hand-cutting and SVG design for your Cricut machine!
Continue reading to learn step-by-step how to make perfect pom poms using a DIY Pom Pom maker
Materials You will need
- Yarn
- Heavy Weight Cardstock
Get the password below to download this template from the Craft and DIY Resource Library which you can login to here.
From your ball of yarn, cut approximately a 12-inch strand and place aside, you will need this at hand later when tying your pom pom together.
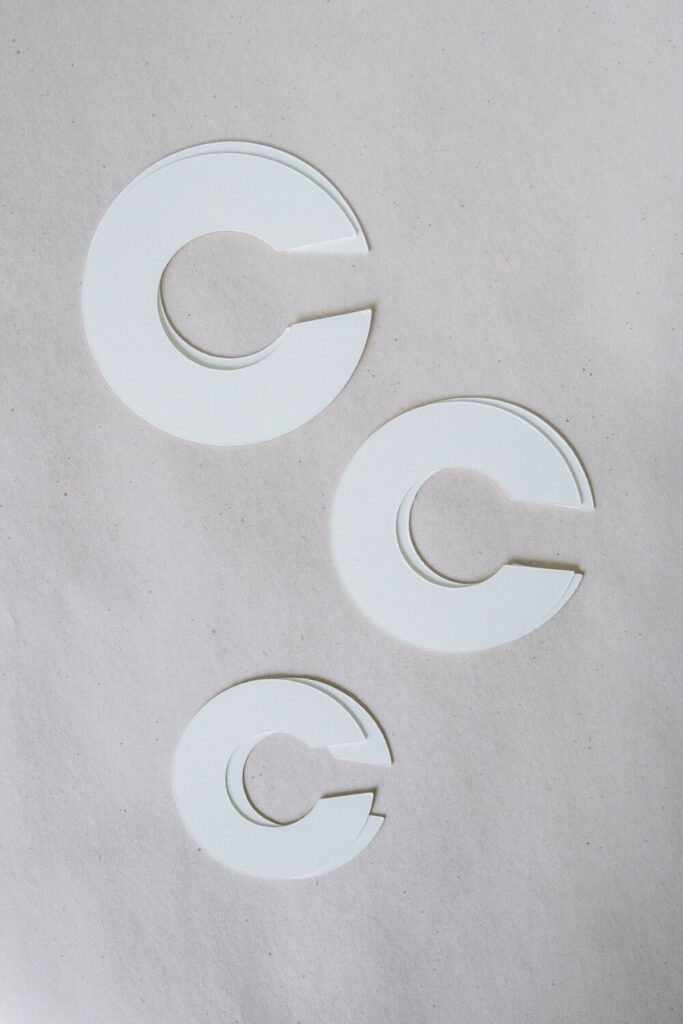
Cut out your desired pom pom maker size from a heavy-weight cardstock. You will need to cut out two of the “c” shapes to make one pompom.
Stack the two “c” shapes together.
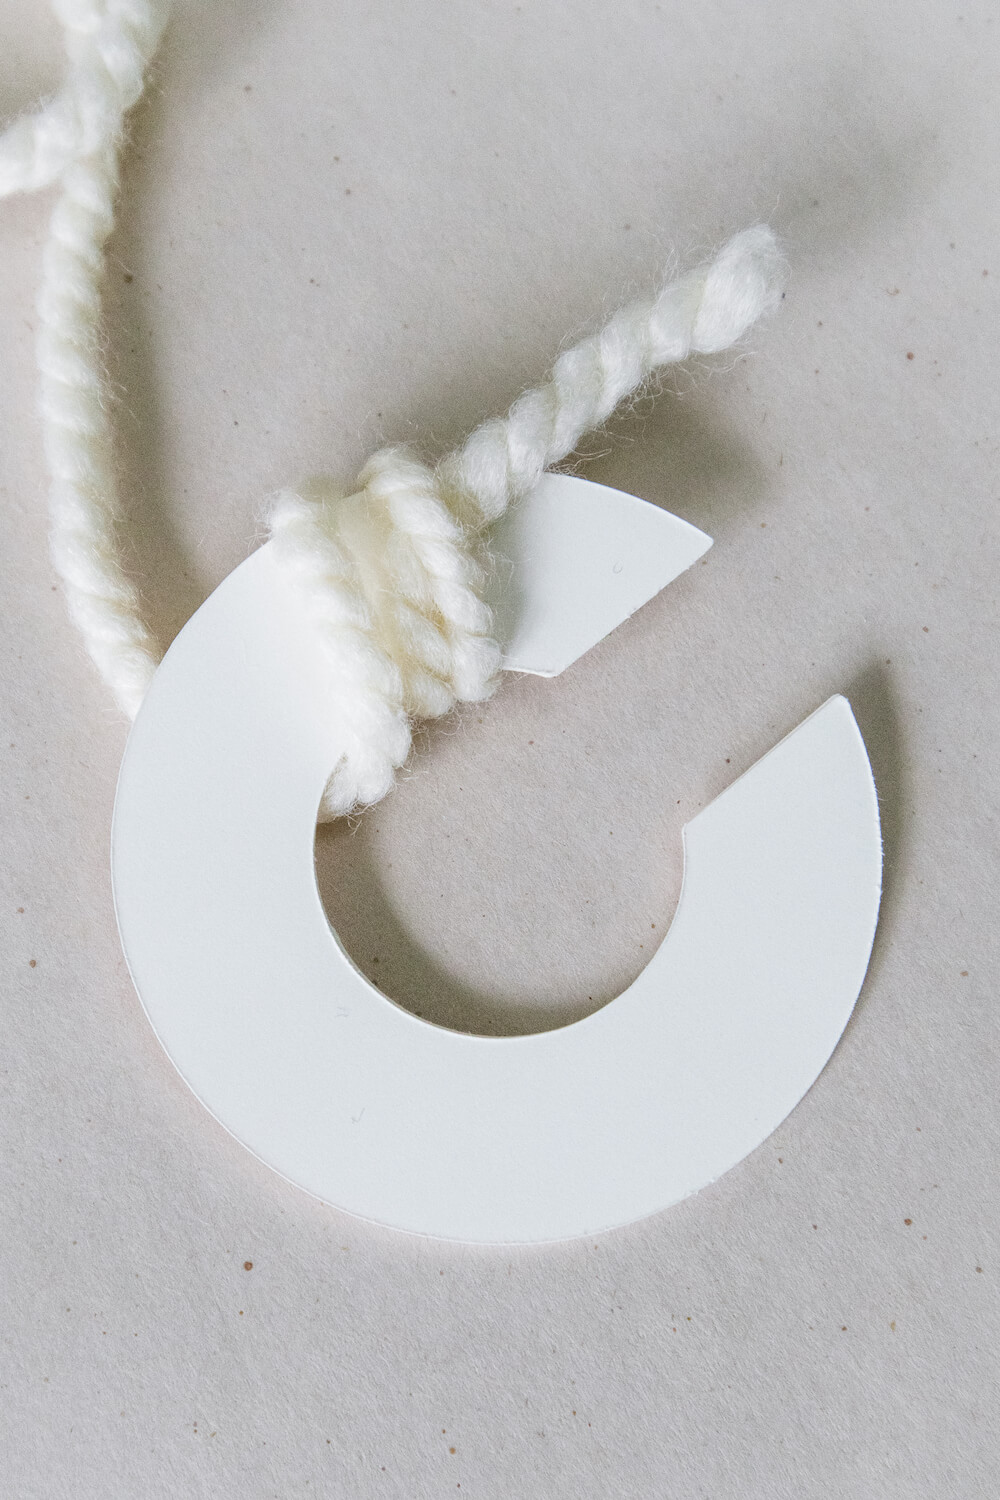

Holding the end strand of your yarn, begin wrapping the yarn around your pom pom maker starting just inside the stacked “c”s at one end and wrapping snuggly all the way around until you reach the other end, stopping just inside.

Continue wrapping back and forth until you have a full croissant-like shape around the pompom maker, almost filling the center of the “c” with yarn.
Without releasing the end strand, cut the yarn to detach the “croissant” from your ball of yarn.

In one hand, while continuing to not let go of the end strand, hold both ends of the pom pom maker together firmly. Then take your scissors and cut around the outside of the “c” from one end to the other.

Next, take the 12-inch piece of yarn that was cut at the start. Thread the yarn through the gap created by slightly separating the two pieces of cardstock.


Wrap the thread all around the pom pom between the cardstock and tie securely a double knot.
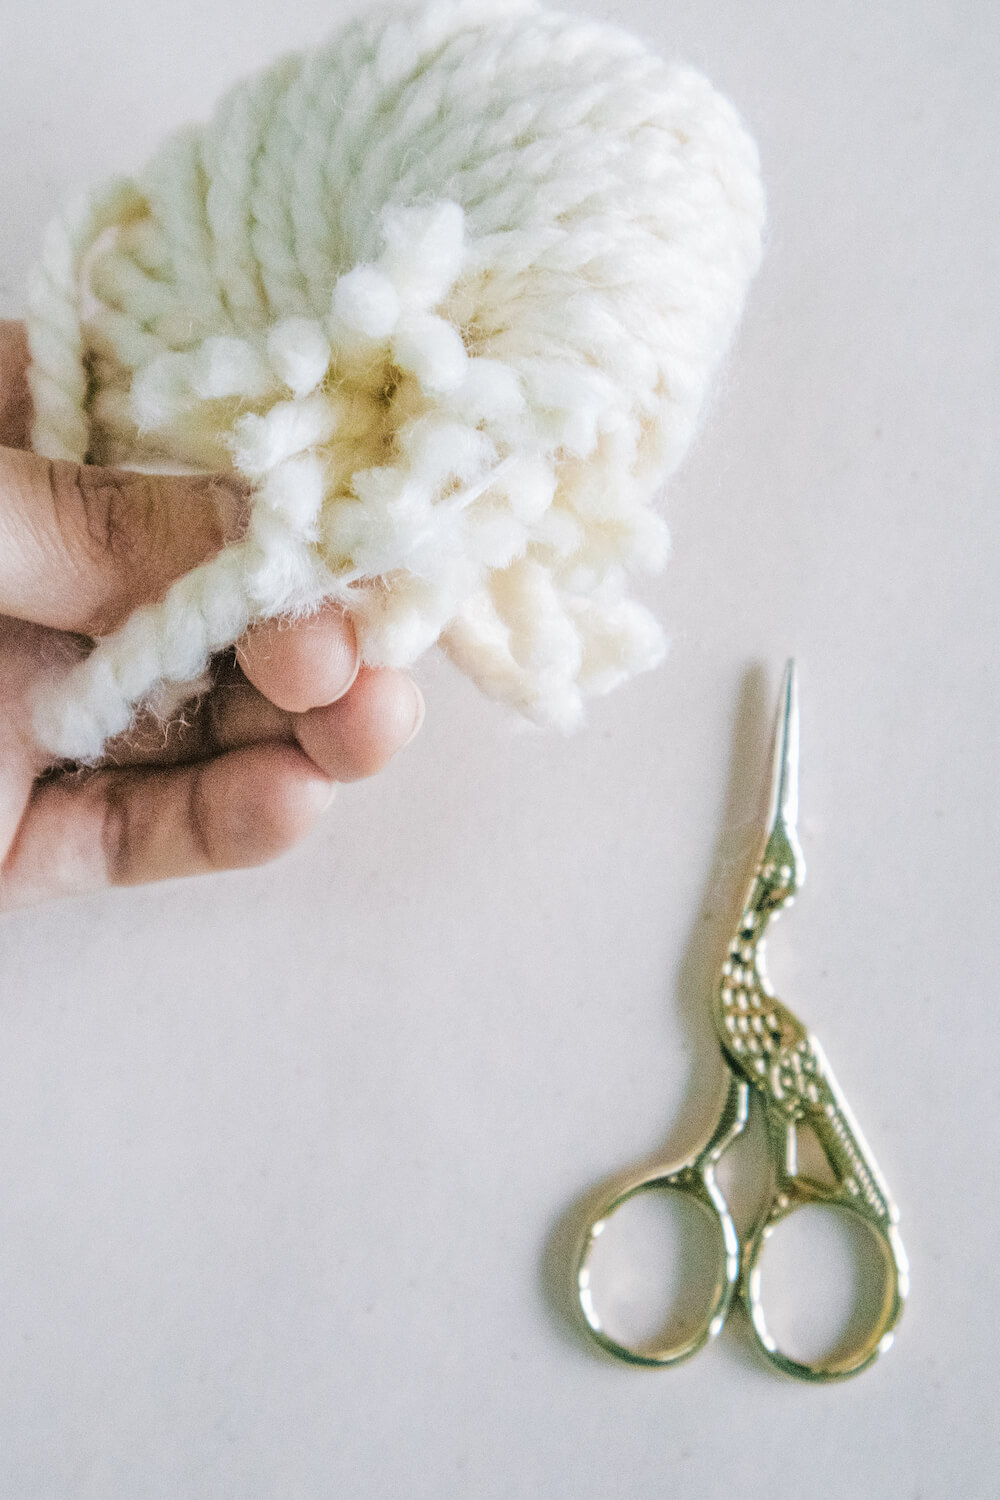
Carefully glide the cardstock pom pom maker “c”s off the pom pom. This stage might seem slightly alarming, your pom pom will look like it had a bad hair day!

Finally, take a pair of scissors and trim all around the pom pom, evening out the strands until you have a fluffy ball.
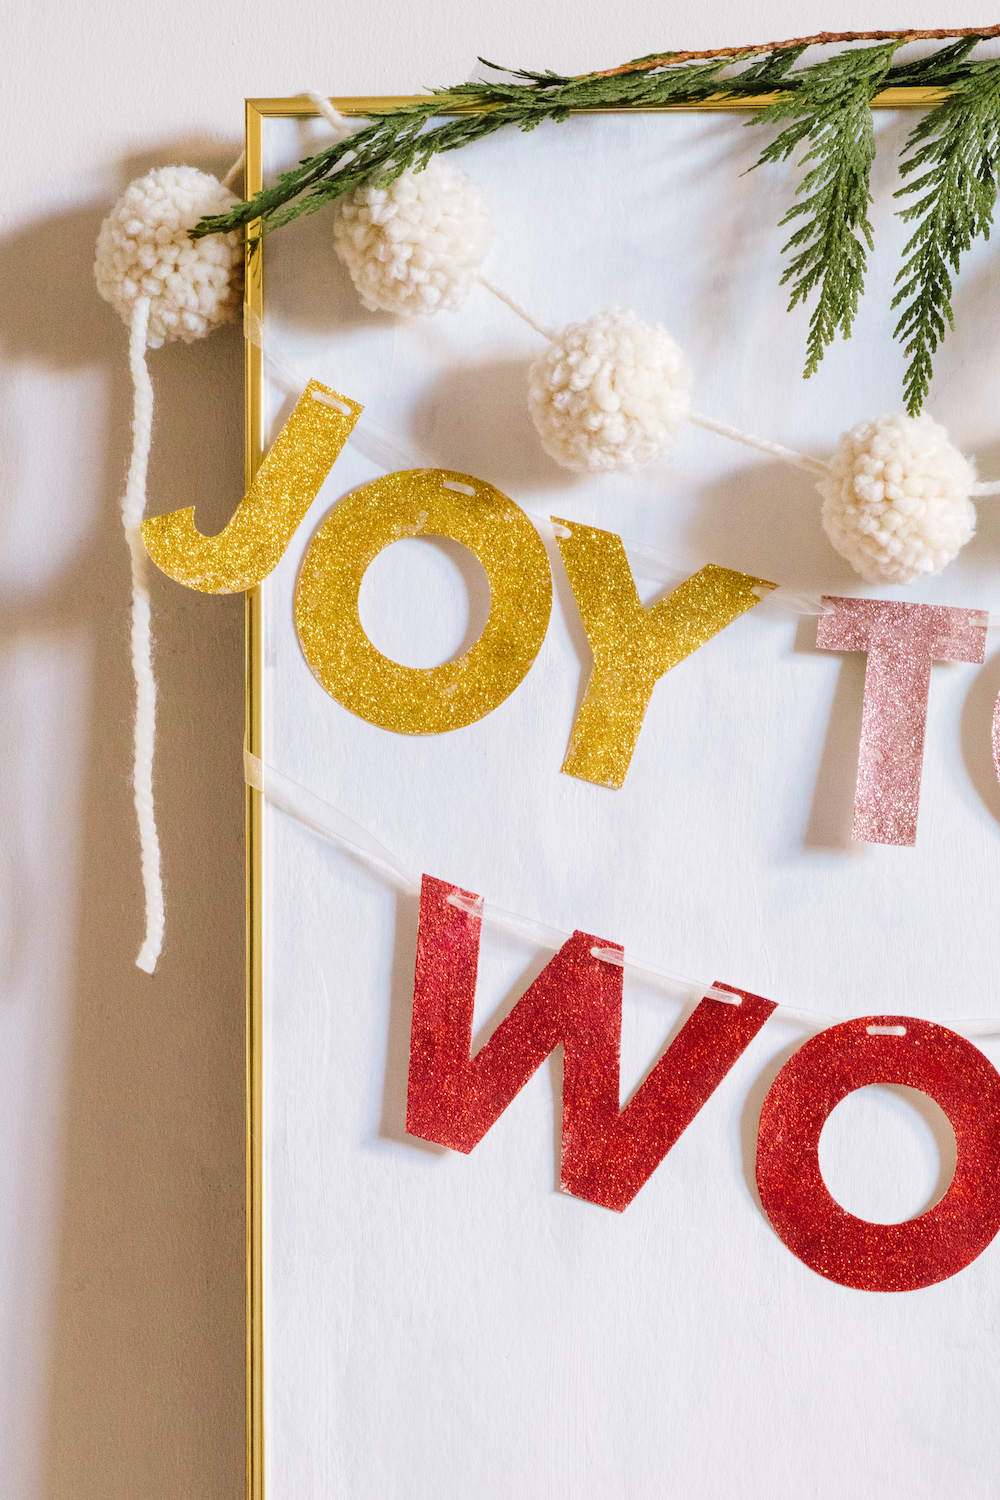
DIY Pom Pom Garland
If you would like to make a pom pom garland, continue the above process until you have the necessary amount of pom poms to cover the distance of the garland you’d like. Then take a separate strand of yarn or ribbon and carefully thread it through the center of your pom poms using a large needle.


