Grab this free botanical SVG bundle below, your Cricut, and some cardstock to make a lovely DIY botanical poster
In this post, I’m excited to share about two free botanical SVG bundles that we have in the Gilded Stork Design Files Library:
The first bundle is 10 Silhouette Botanicals. These designs are so versatile! I used this bundle to make some easy (but look amazing!) watercolor cards. You can find the tutorial for those here.
Below, you’ll find a new Cricut home decor project: a DIY Botanical Poster. And the best part? Included with this DIY is a fantastic Free Botanical SVG Bundle for you to use in a ton of different ways.

This bundle differs from the 10 Silhouette Botanicals bundle as the flowers feature a variety of elements – including leaves, flowers, and stems, allowing you to customize your poster with a range of beautiful designs.
{{ This post contains affiliate links. These links don’t cost you anything extra, but allow me to run this site and provide free content for you. You can read the full disclosure here.}}
With this bundle, you’ll have endless creative possibilities to personalize any project and make it truly unique. You can download the bundle from the Gilded Stork Design Files Library.

To get started, make sure you have your Cricut machine and Design Space ready. Download the bundle and gather the necessary materials listed below. Then you’ll be ready to follow along with the video tutorial.
Getting your free Botanical SVG Bundle from the Gilded Stork Craft and Resource Library
To make grab the downloadable SVG cut file from the Gilded Stork Design Files Library.
Materials you will need:
Cricut Explore or Cricut Maker
Poster board or Bristol board
*As an Amazon Associate I earn from qualifying purchases.

Making your botanical poster
Open Cricut Design Space, upload the SVG design, then add to your canvas.
This SVG design contains 17 different colors to create more dimension to your design. However, as Cricut users know, many colors make for lots of time to load your mat into your machine!
To cut this down, where possible, I like to cut four colors on one mat. If you would like to know how I do this, I walk you through it step-by-step in the above video tutorial.

Once your design is cut, space them out on top of a drop cloth (for easy clean up).
Next, use watercolor paints to quickly add more color to the design using quick brush strokes.
Then allow time for the paint to fully dry.

Next, place the flowers on the poster board. Spacing and arranging them out as you desire.
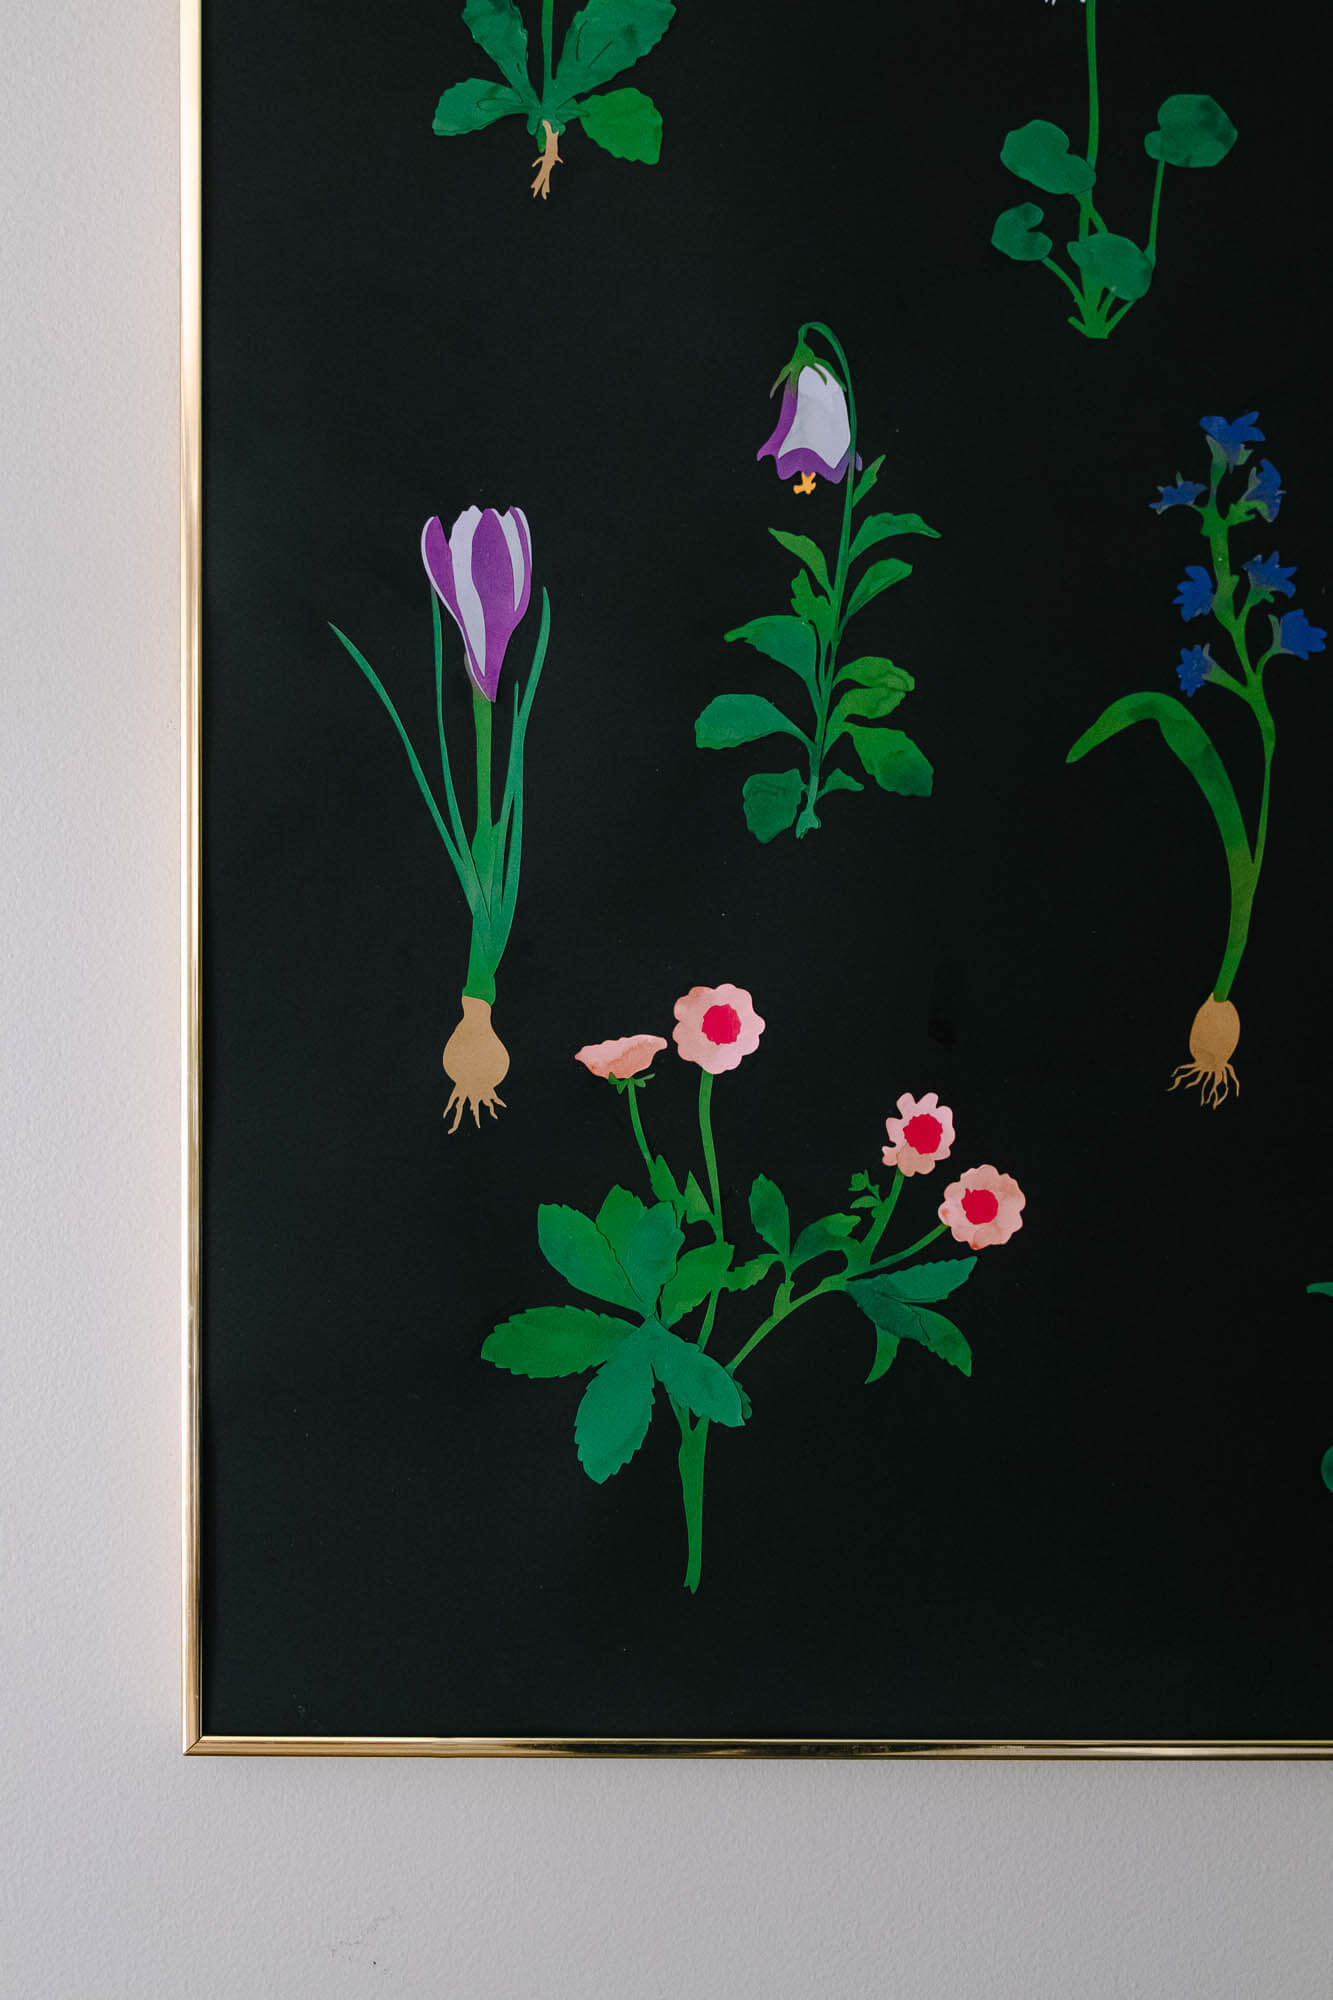
With all the pieces, this can feel like assembling a puzzle! Feel free to reference the bundle image in this blog post or the SVG file for help.

Finally, apply a thin layer of white glue to the back of each botanical element. Ensure that you cover the entire surface to prevent any buckling of the poster board once the glue dries. Press the elements firmly onto the poster board, making sure they adhere securely. To aid the drying process, place a weighted object on top of the elements.
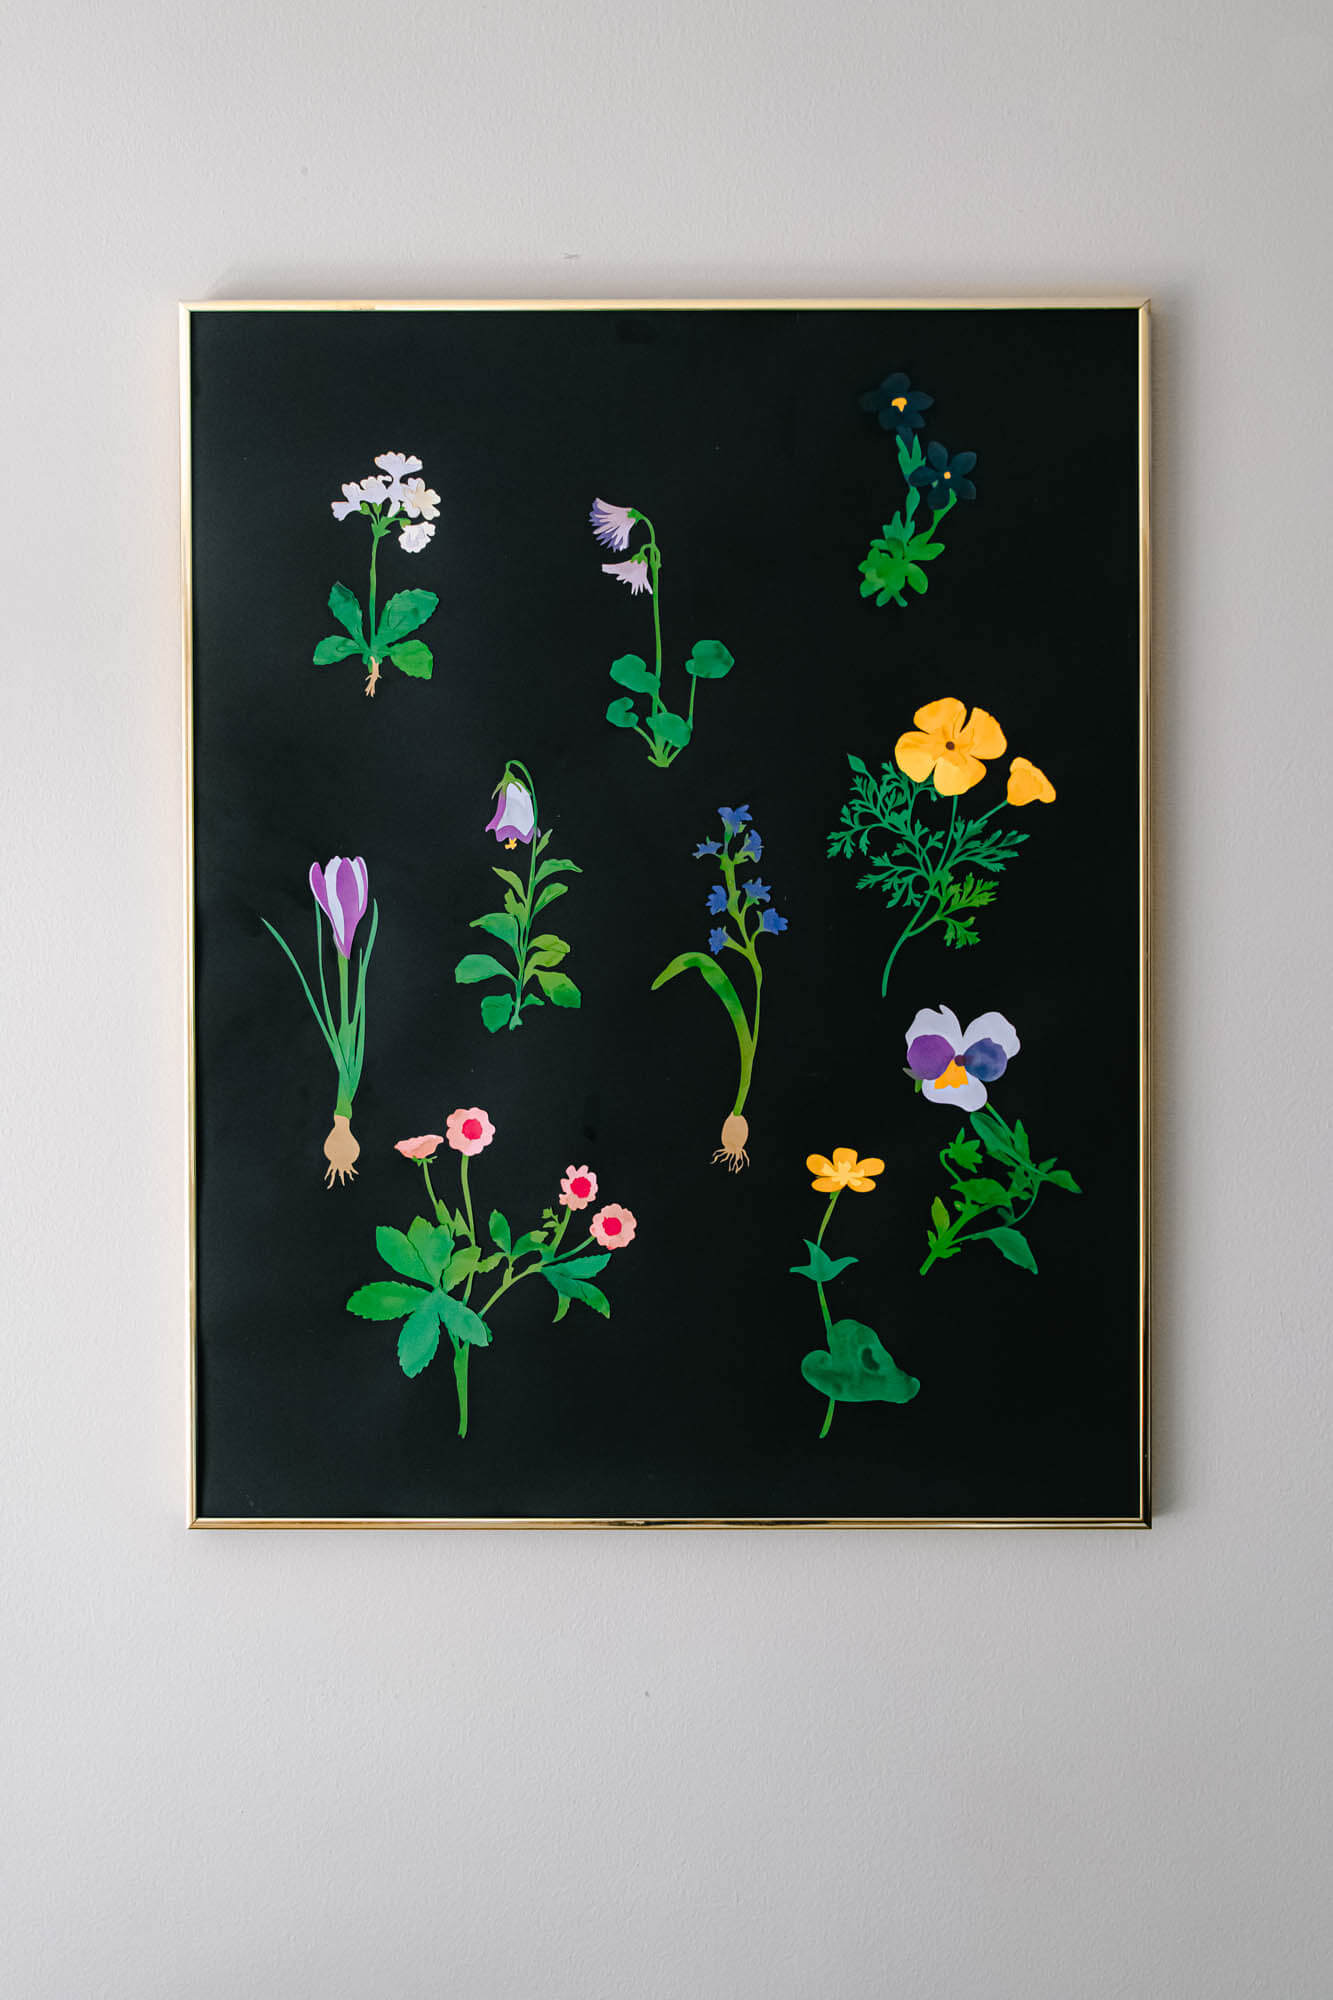
Once your DIY botanical poster is complete you can then frame, hang, and enjoy!


2 thoughts on “DIY Botanical Poster – Free Botanical SVG Bundle”
Thanks for great botanicals…these will make great projects.
My pleasure! So happy you like them!