Craft these stunning botanical silhouette Cricut watercolor cards in minutes
These botanical silhouette Cricut watercolor cards are quick and easy to make, yet the results always turn out lovely (regardless of artistic skill).

Make them using your Cricut machine and some removable vinyl, which acts as a painter’s tape would, holding the white of the watercolor paper. Creating a “stencil” in this way means you don’t need any past watercolor painting experience, but you’ll look like a professional!
Are you looking for a fun and easy art project to do with your kids, that can be used as a beautiful handmade card for Mother’s Day? These cards are perfect for that purpose!
{{ This post contains affiliate links. These links don’t cost you anything extra, but allow me to run this site and provide free content for you. You can read the full disclosure here.}}

Getting your bundle of 10 free botanical silhouette SVG designs from the Gilded Stork Craft and Resource Library
To make grab the downloadable SVG cut file from the template library.

Materials you will need:
Cricut Explore or Cricut Maker
Watercolor Paper or Cricut Watercolor Cards (R40)
Water
*As an Amazon Associate I earn from qualifying purchases.
Step-by-Step Instructions
To make these cards, start by cutting down a piece of watercolor paper to measure 10 inches by 7 inches. Score and fold so that your card measures 5 inches by 7 inches.
Another option is to use Cricut’s watercolor cards (R40).
Download the bundle of 10 free botanical silhouettes from the Gilded Stork Design Files library here.
Upload the designs to Cricut Design Space and add to the software’s canvas. Delete any botanicals you don’t want to cut.
Follow your Cricut machine directions to cut out the botanical silhouettes from removable vinyl, which will act as a stencil for your painting.
Next, place the vinyl on to the right half of your cut card.

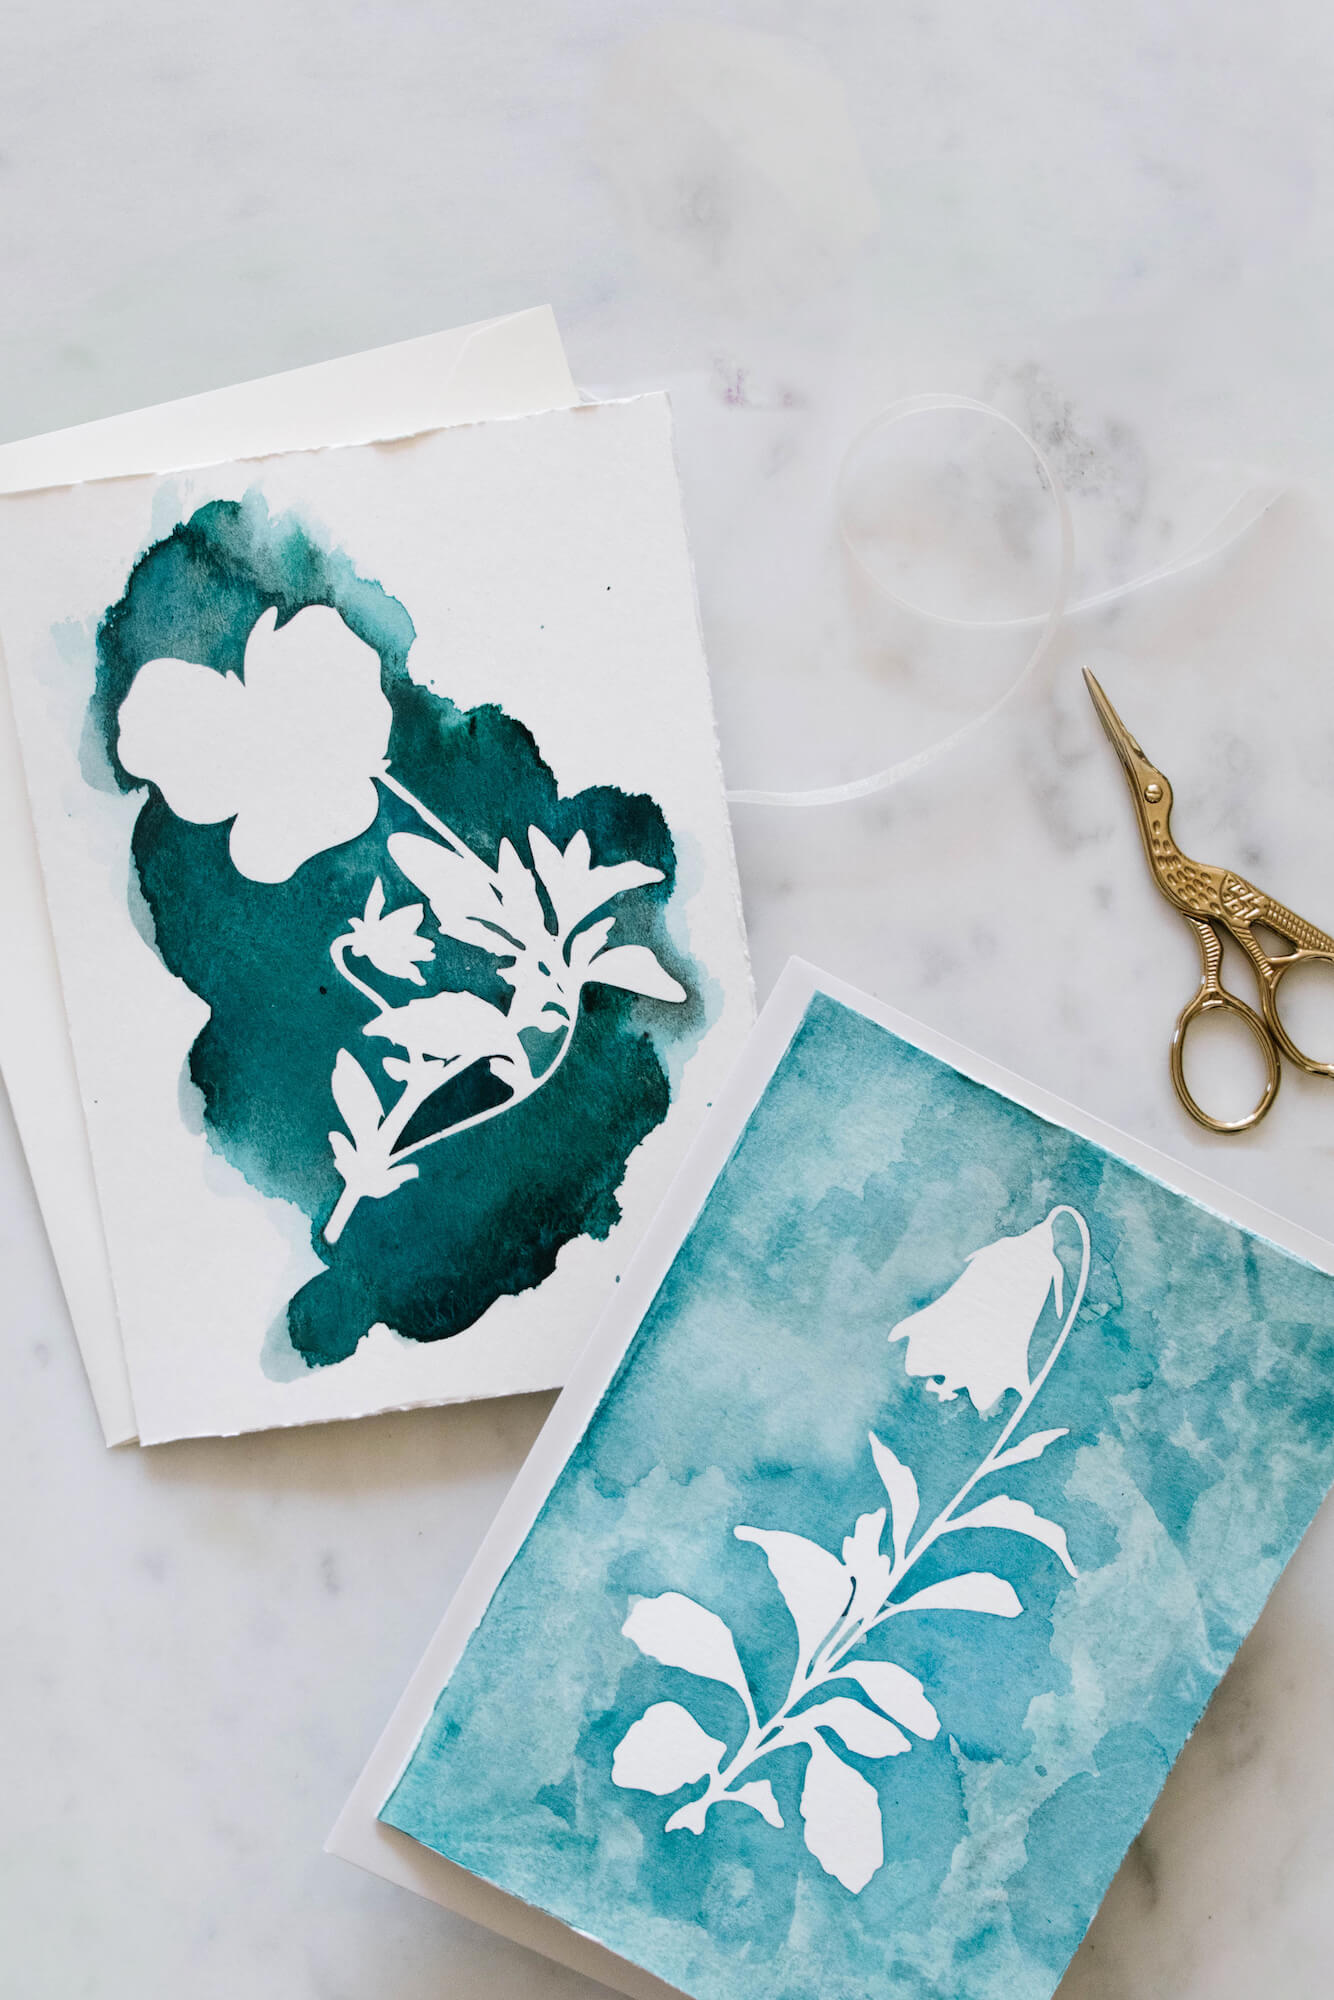
Once you have your vinyl stencil placed down, you can then play with paint around it. You can use any colors you like, but I have chosen to do an indigo blue for them to have an appearance similar to sun prints.
For the above design, I chose to only have the paint surround the botanical silhouette, but not reach the card’s edge.

For the second design, I first gave the entire front of the card a wash of watercolor paint.

I then took a napkin (you could also use paper towel), scrunched it, then lightly dabbed at the watercolor wash.

This watercolour technique lifts some of the paint and creates an interesting “textural” pattern.

Once your card is completely dry, carefully remove the vinyl botanical silhouette to reveal a clean design.

Lastly, I chose to roughen the edges of my cards using a metal ruler. You could also do this with a bone folder.

These designs would also look beautifully framed as a gallery wall. I photoshopped the art prints onto my dining room wall in the above photo. I have been trying to decide on what to do for that area of the room, this is a lovely option!
In just a few minutes, you’ll create these beautiful botanical silhouette Cricut watercolor cards. Happy crafting!


2 thoughts on “Botanical Silhouette Cricut Watercolor Cards”
looking forward to doing this…after I finish Christmas gifts…..
You are on top of crafting, working on Christmas already! Enjoy!