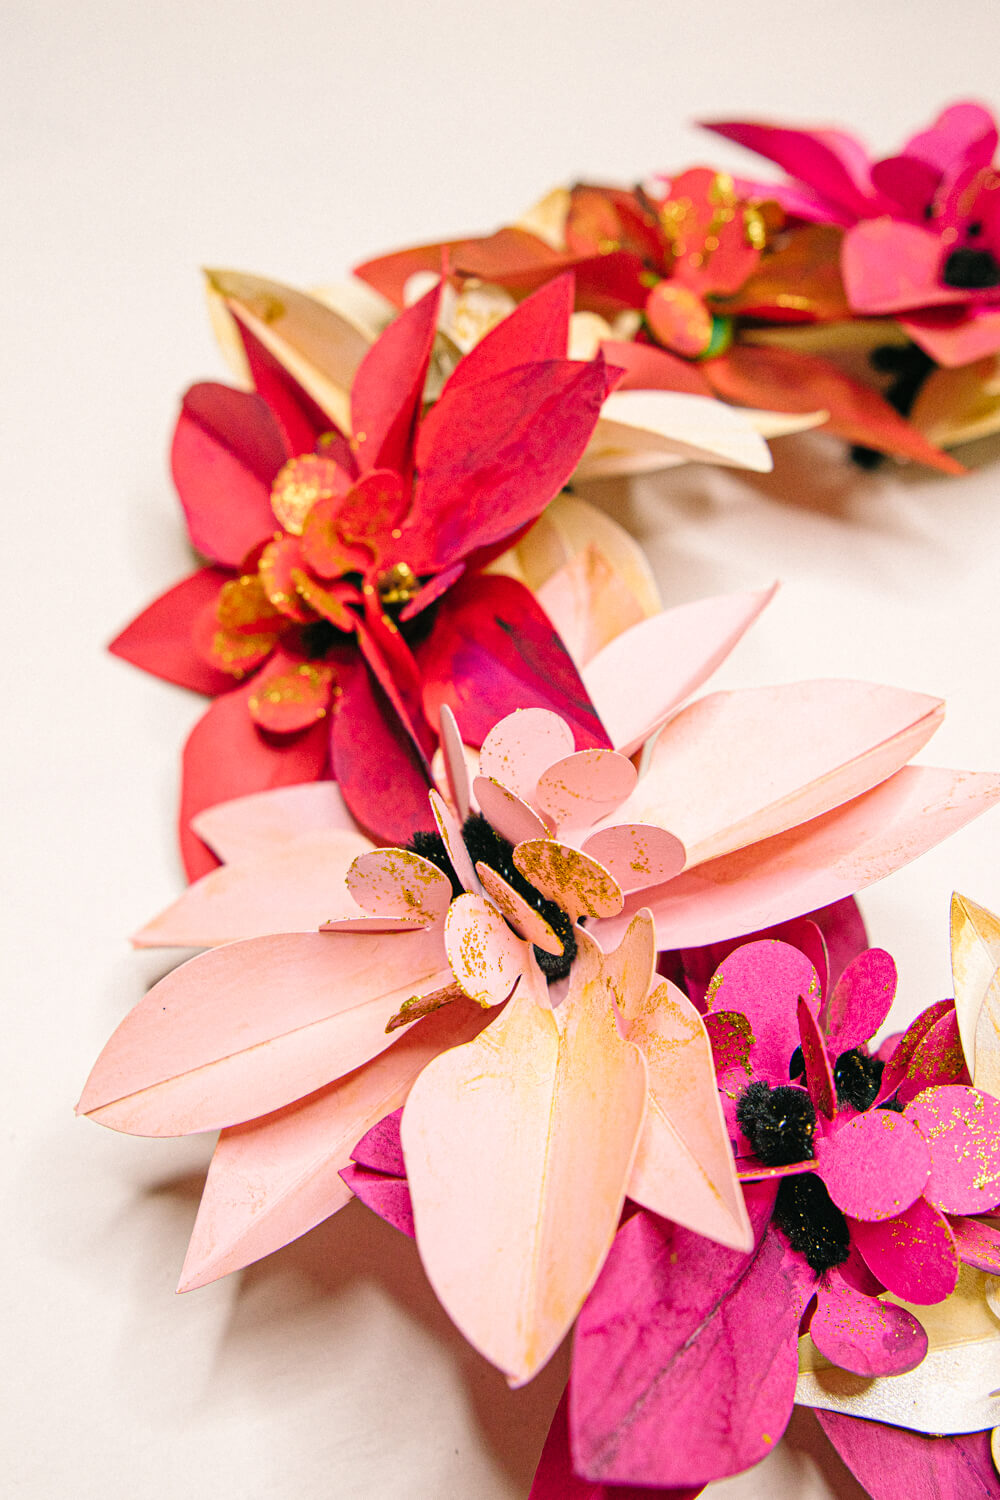
This paper poinsettia wreath is a simple and quick Cricut project that comes together with just a few basic supplies.
I’ve created a free SVG template for these easy-to-assemble poinsettias. You can leave them simple, or have fun decorating them with watercolour, glitter glue, or whatever other medium you have on hand.
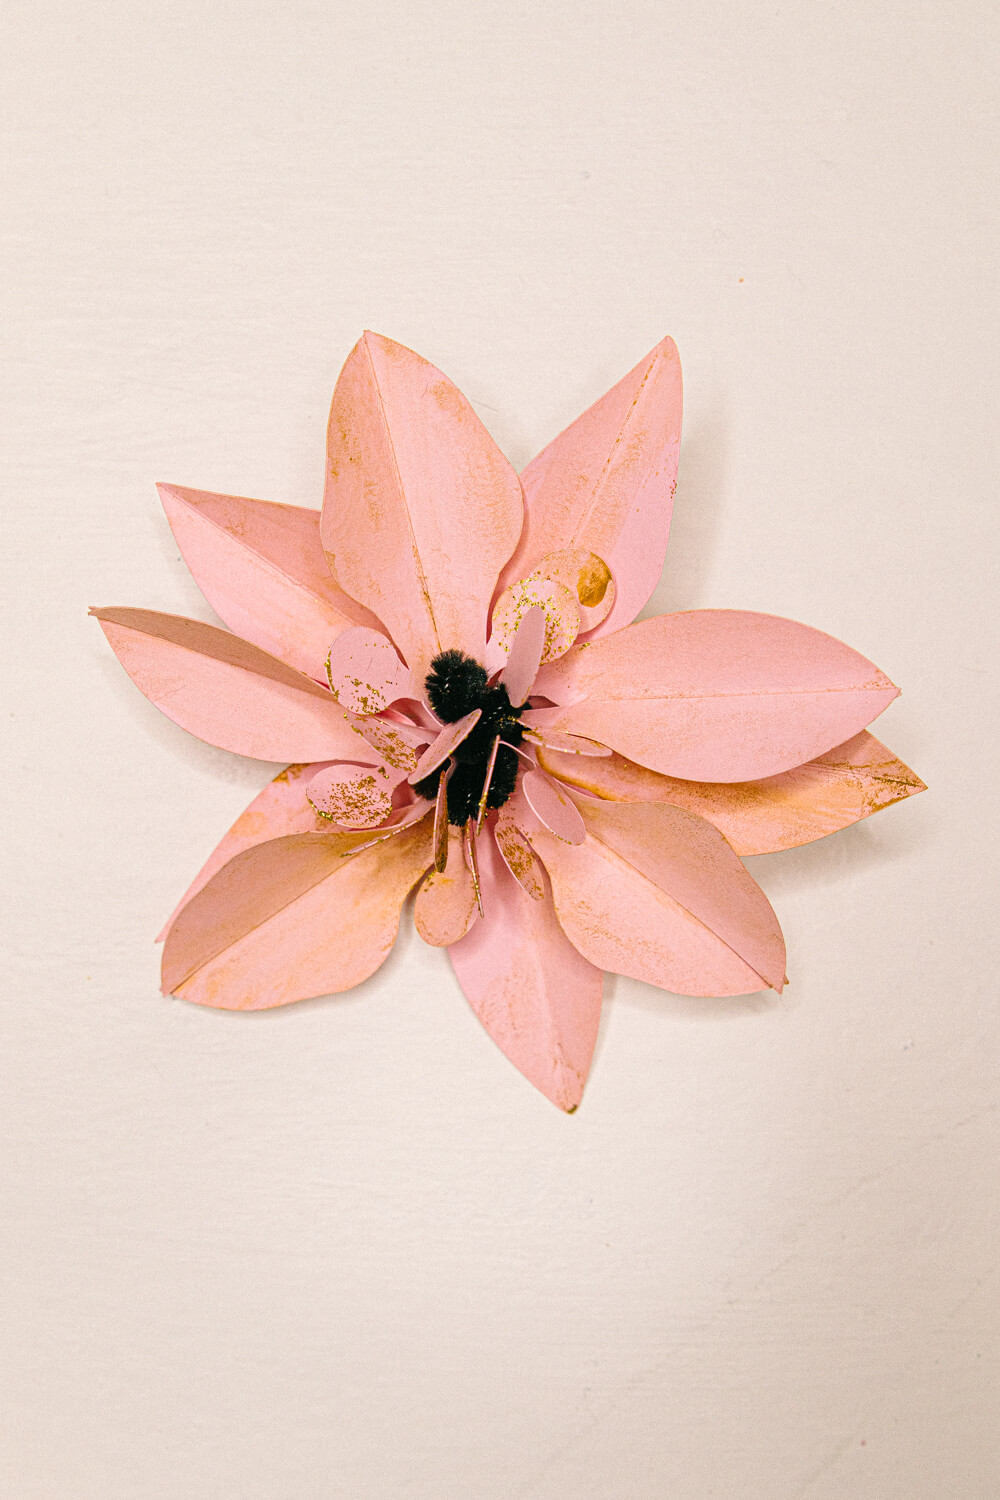
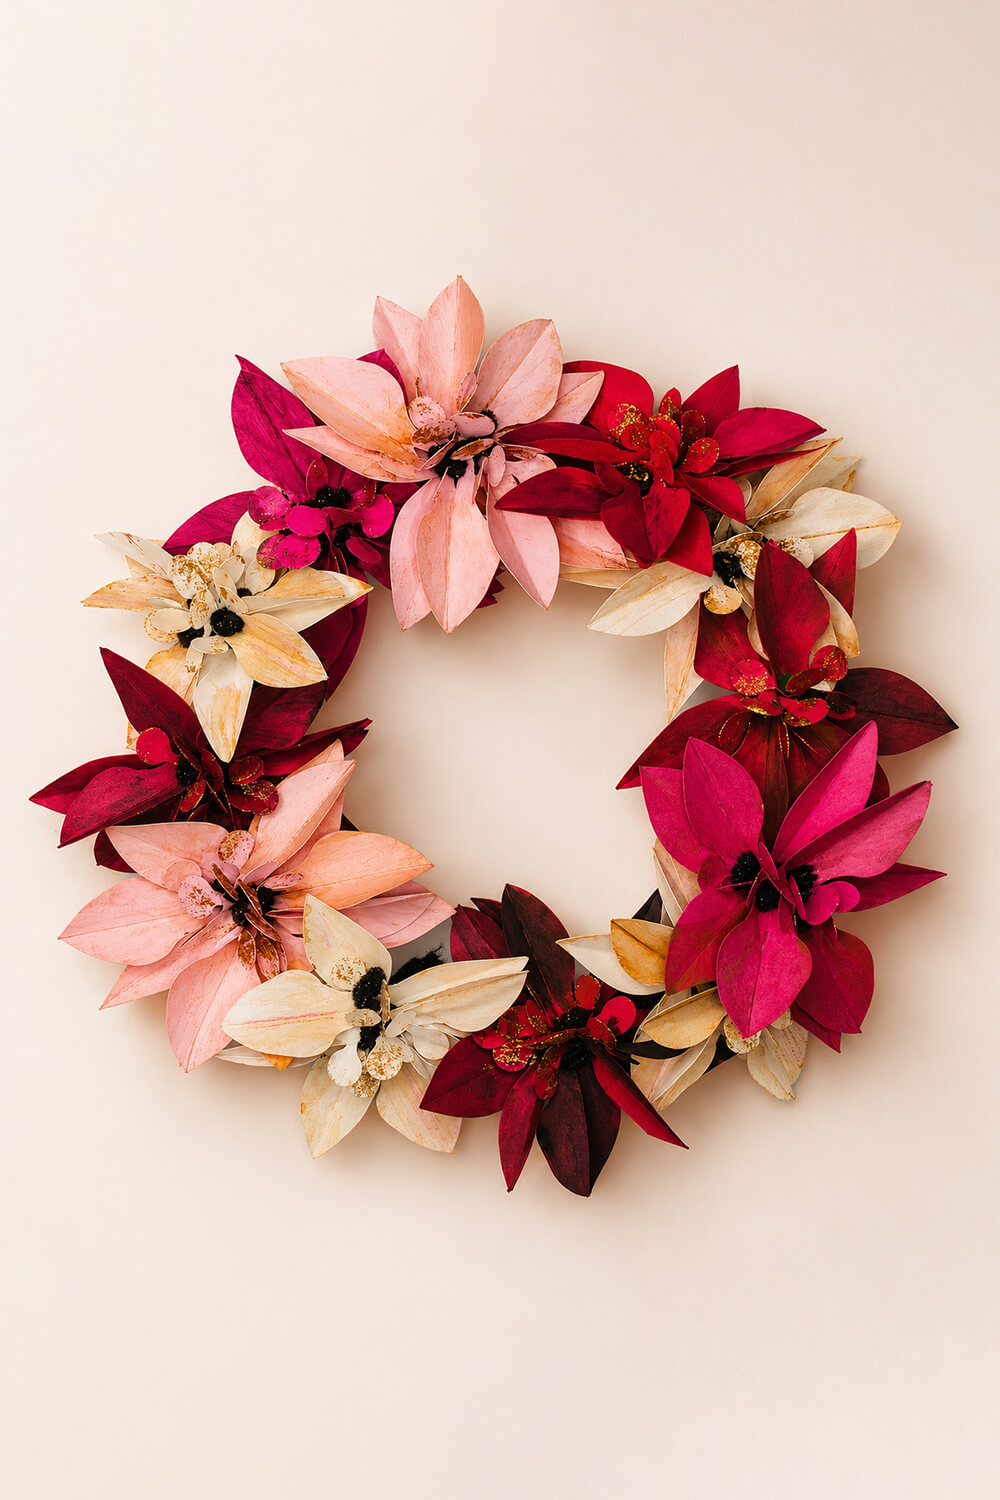
I arranged my finished poinsettias around a wooden embroidery hoop to create a festive wreath in shades of blush, cream, burgundy, and pink.
Materials You’ll Need
- Cardstock in your choice of colours
- Glue stick
- Pipe cleaners or other craft wire
- Wooden embroidery hoop (for making the wreath)
- Optional: watercolour paints, glitter glue, or other decorating supplies
Download the Free Poinsettia SVG
You can find the free poinsettia SVG in the Gilded Design File Library.
How to Make Paper Poinsettias with Cricut
1. Upload and Prepare Your SVG
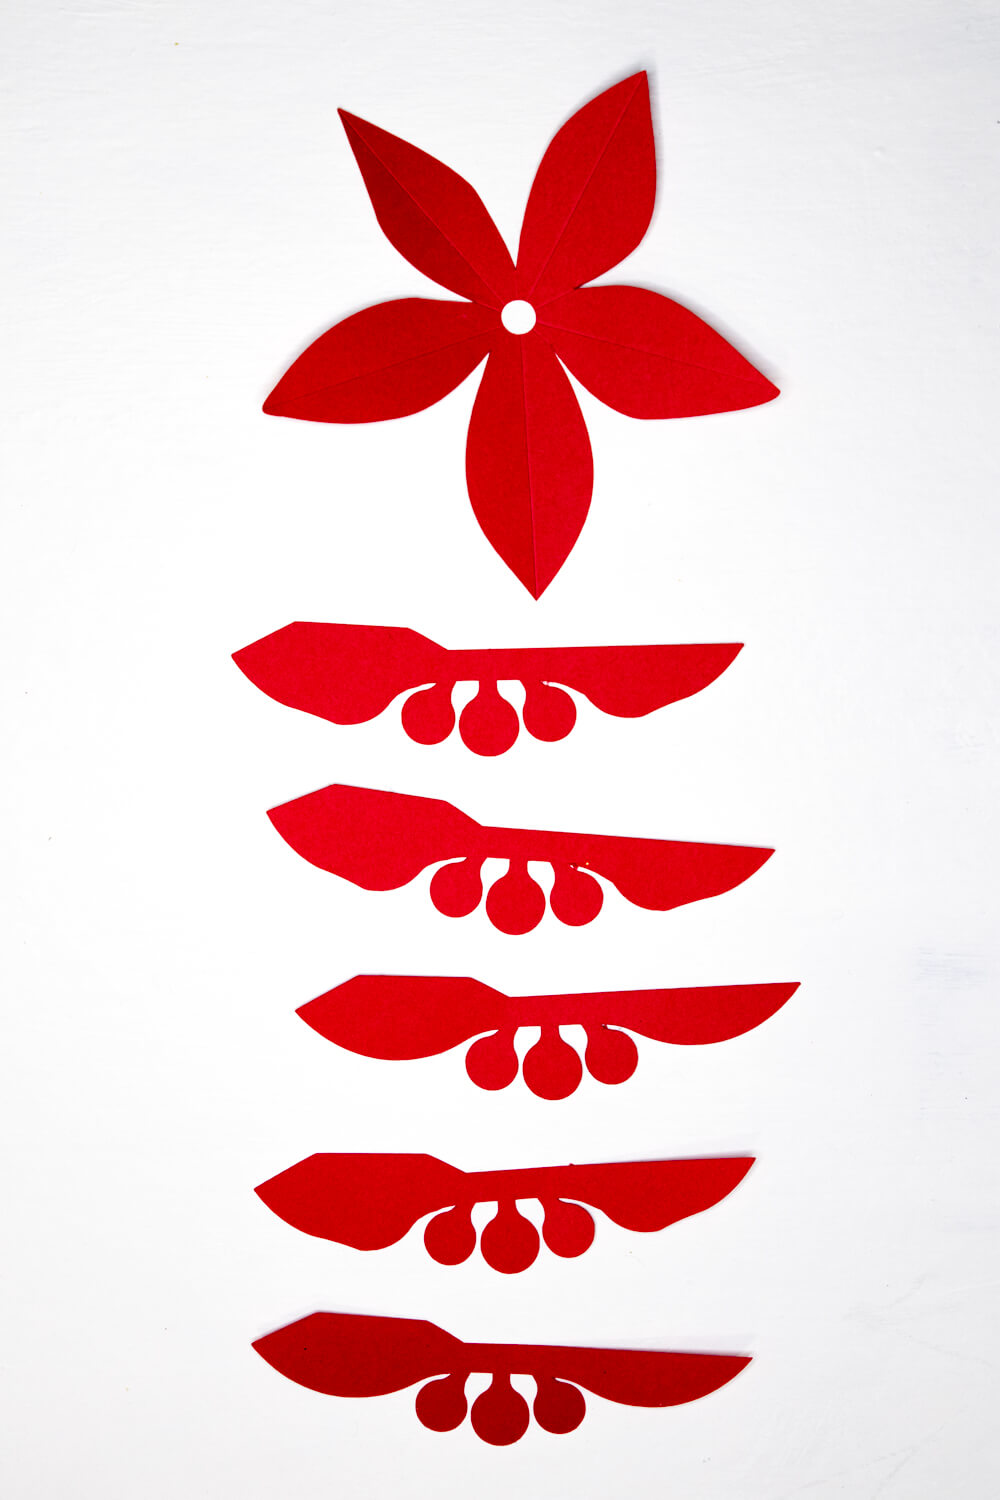
Upload the poinsettia SVG into Cricut Design Space. Before cutting, you’ll need to change the lines running across the petals from Cut to Score.
Select the lines, change their operation to Score, and attach the score lines to the flower template so everything stays in the correct position.
Once everything is ready, proceed with scoring and cutting, following the prompts from your Cricut machine.
2. Fold and Assemble the Petals
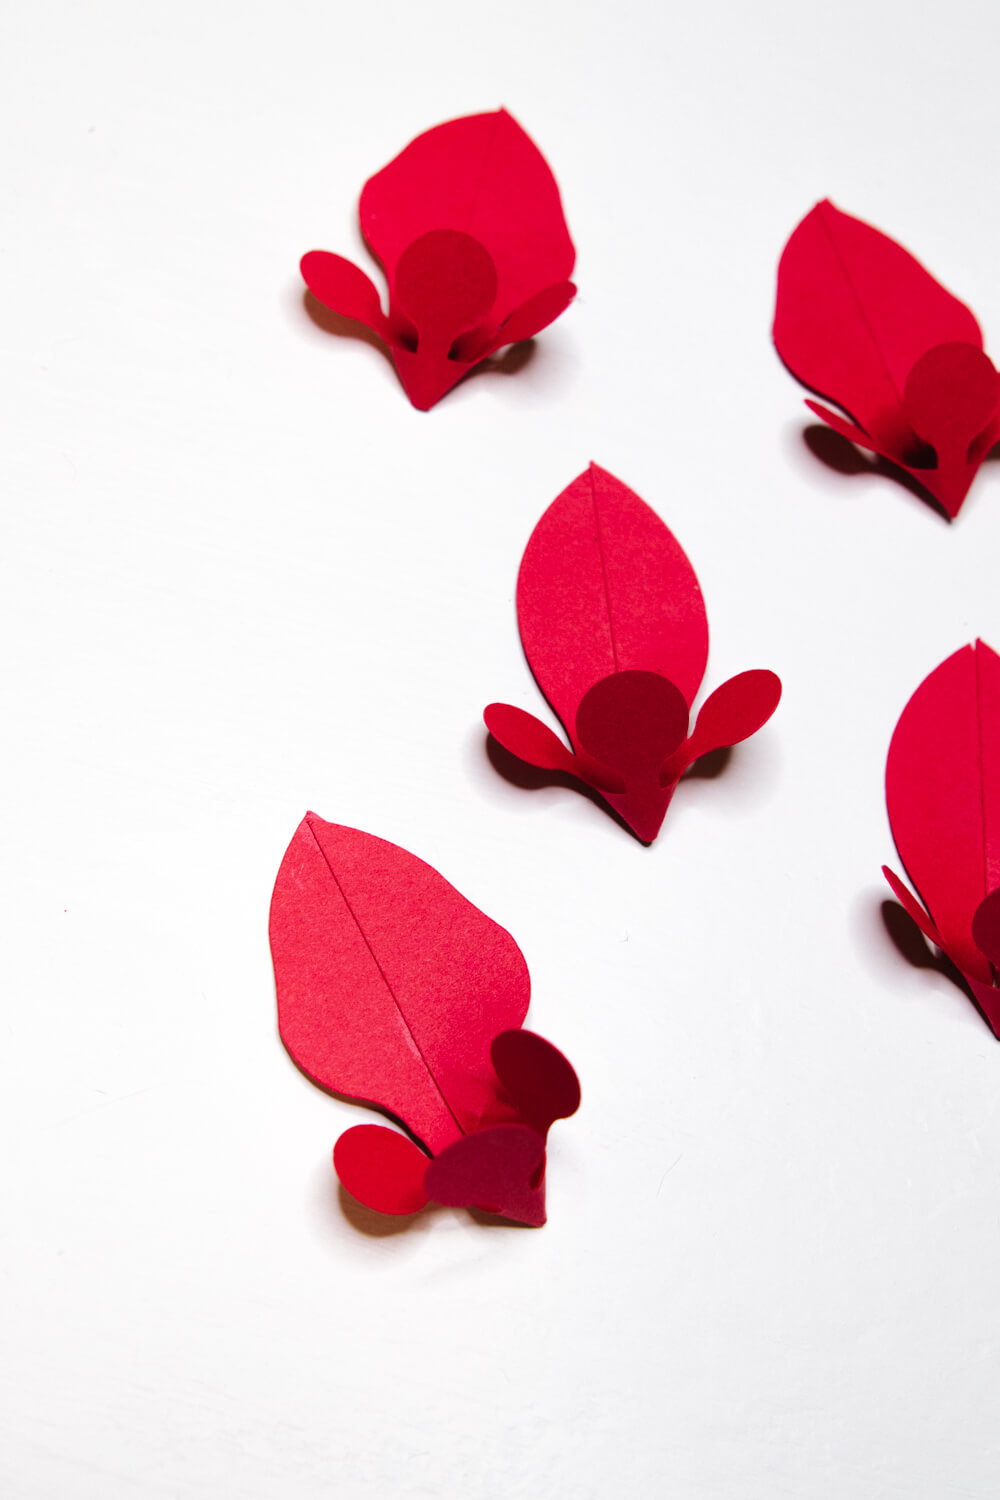
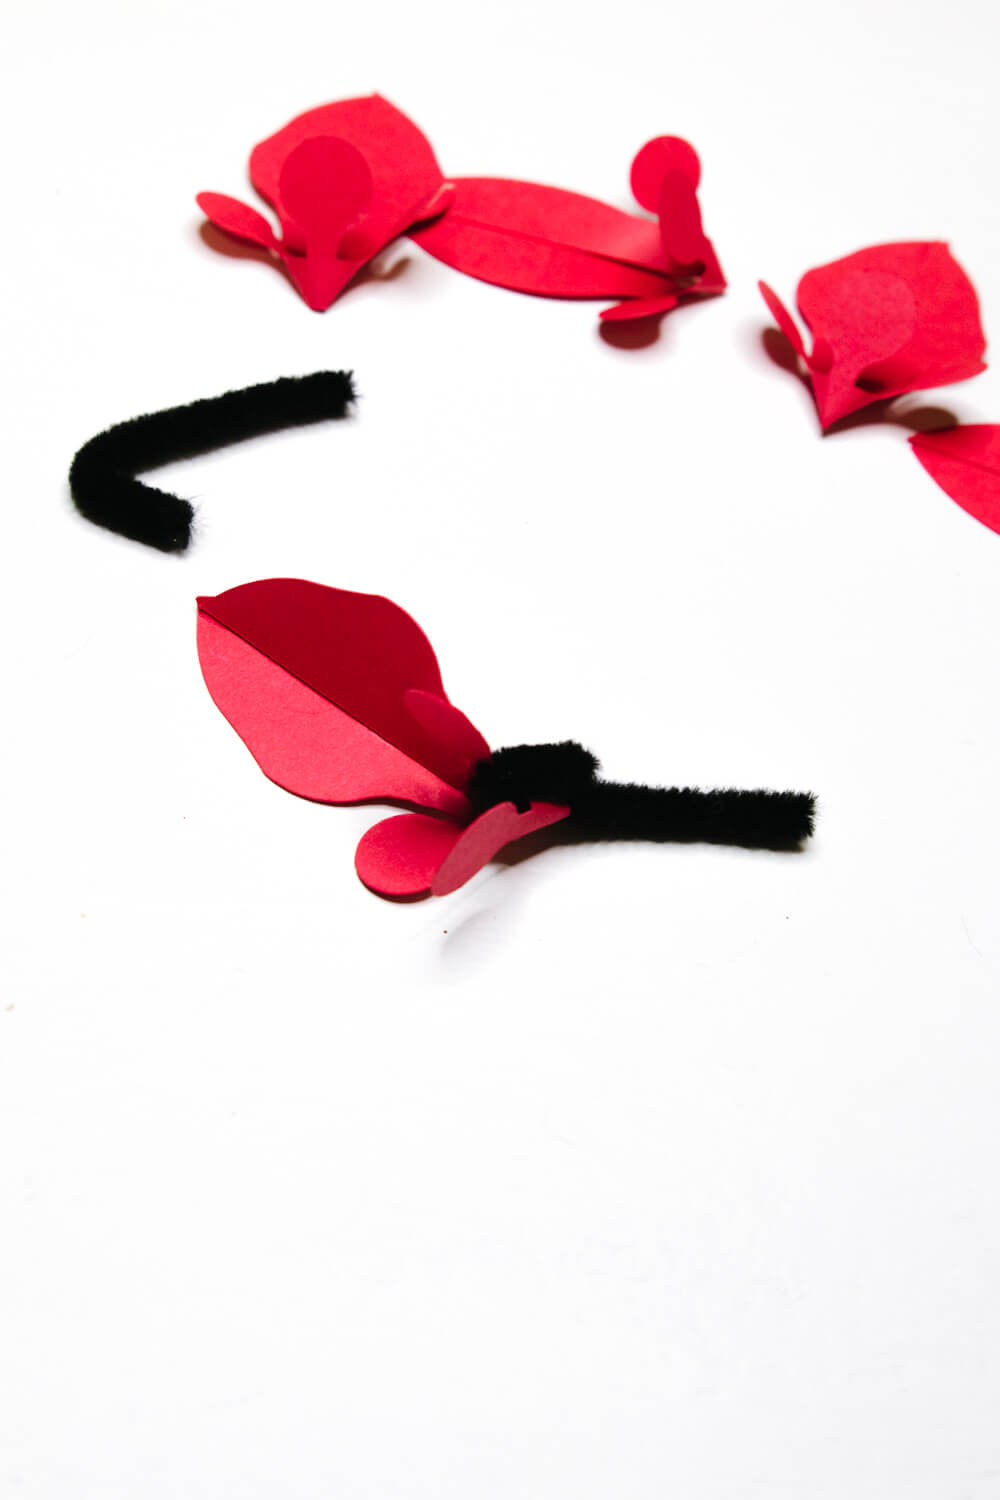
Once your pieces are cut, fold each petal along the scored lines.
Apply a little glue stick to the tab, then bring one half of the petal over the tab. Glue the other half over it, joining the two sides together to create one dimensional petal.
Repeat this process for all five petals.
3. Add the Pipe Cleaner Stems
Cut your pipe cleaner or craft wire into small pieces. Bend one end of each piece into a little hook that can be threaded through the small hole at the centre of each petal.
Repeat for all five petals.
4. Assemble Your Poinsettia
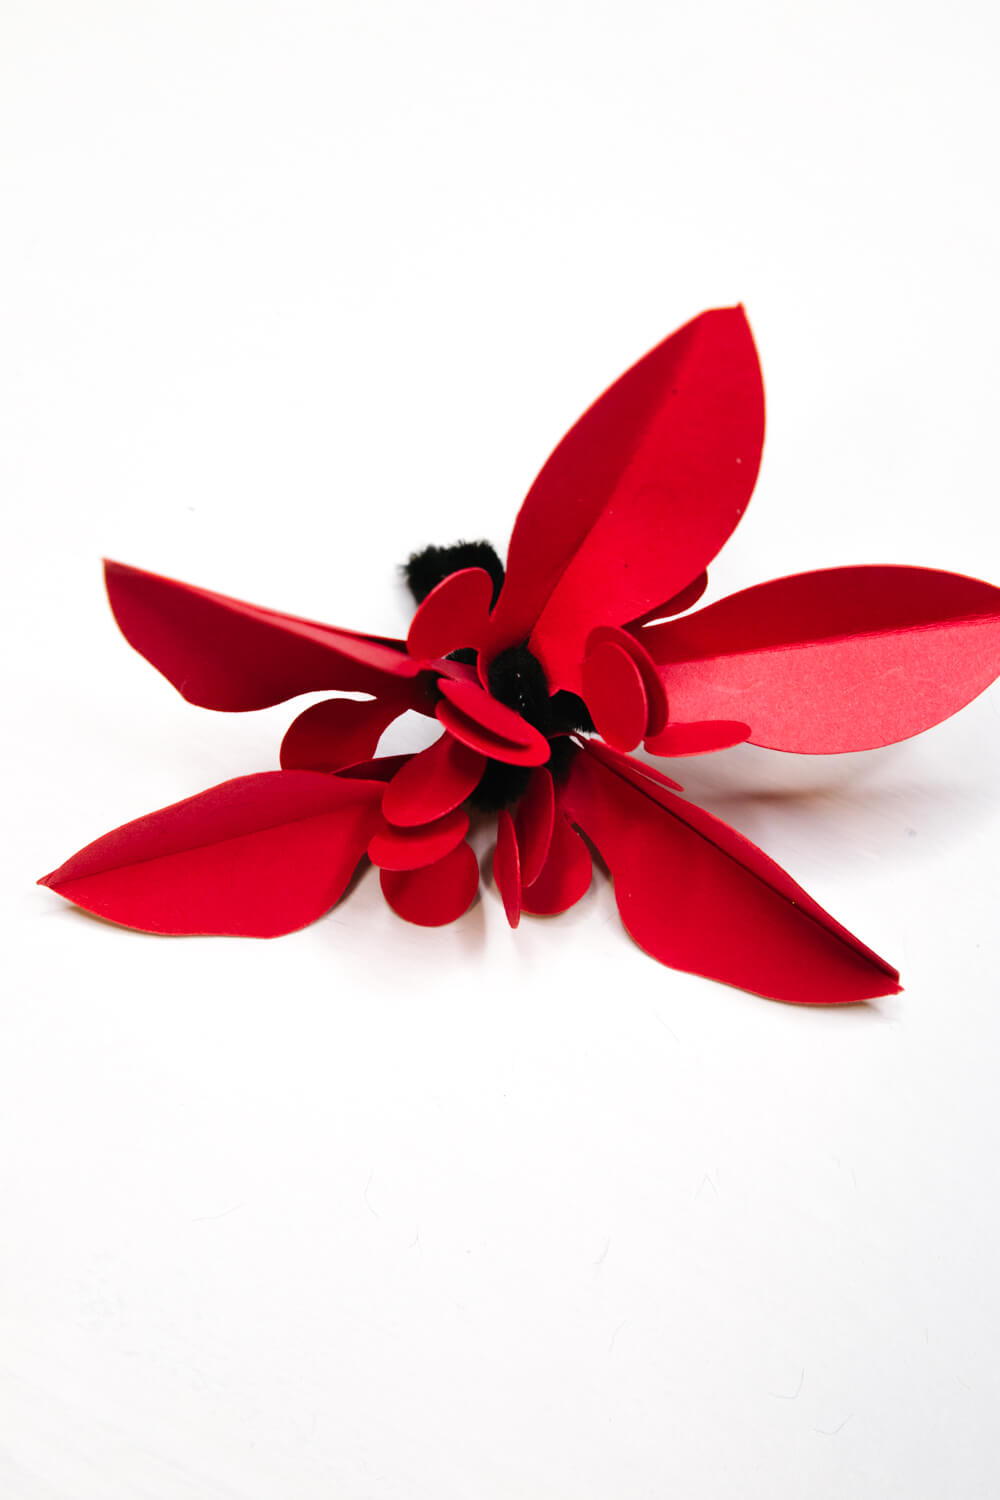
Gather the stems of all five petals together and thread them through the centre of your five-petal flower arrangement.
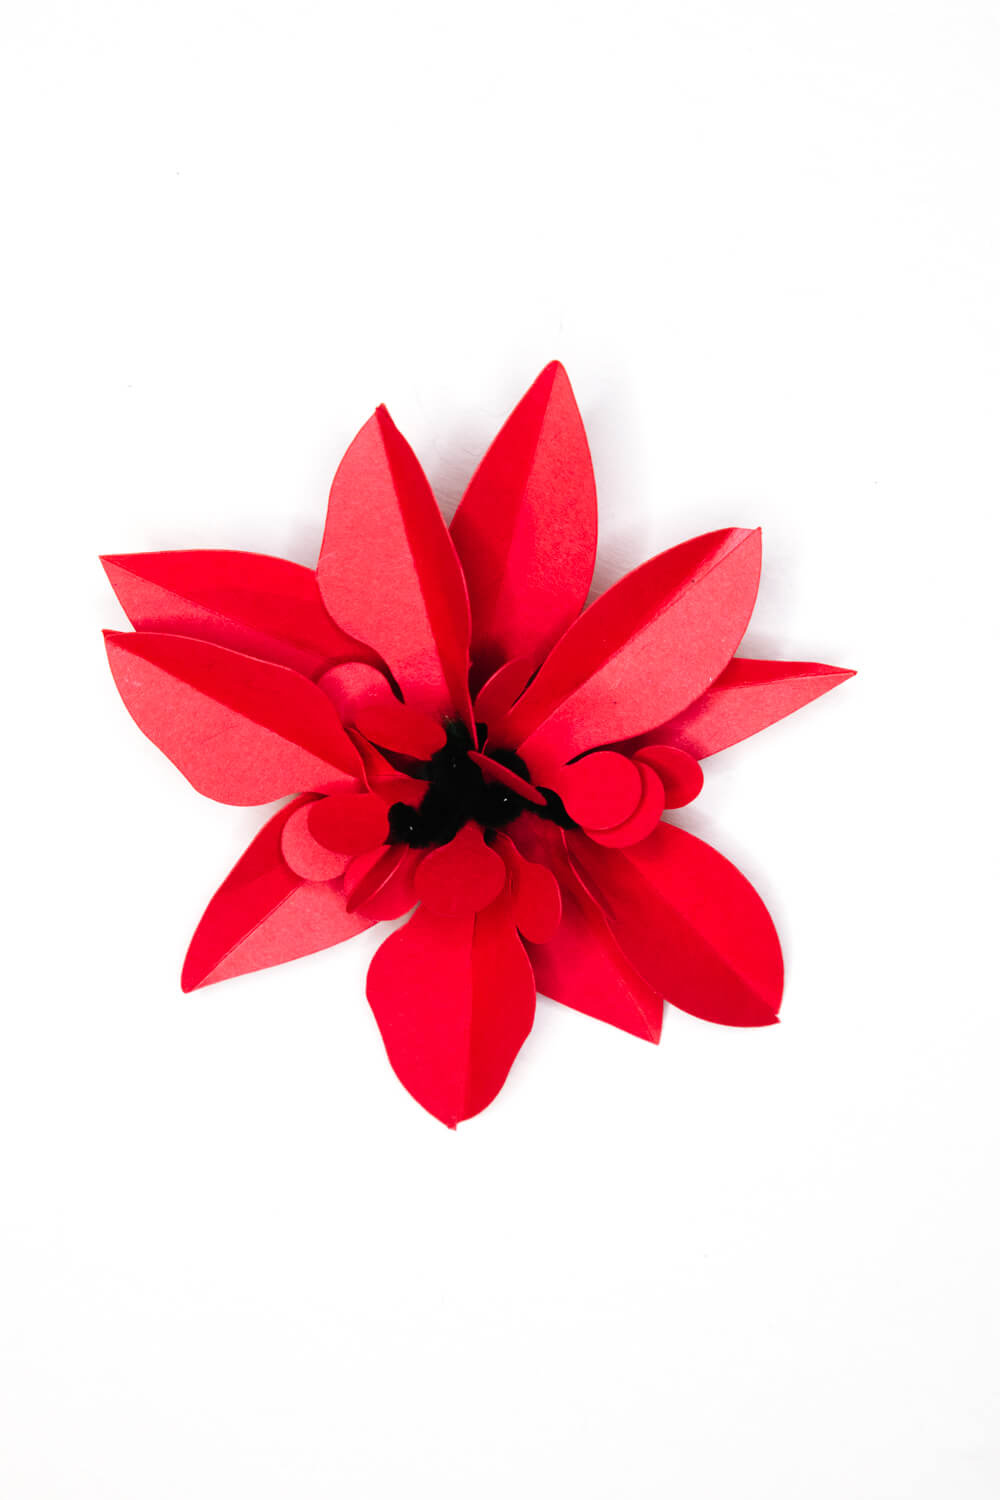
Adjust the petals until you’re happy with their shape and placement. You’ve now made your first paper poinsettia!
Feel free to decorate your flowers however you’d like. Watercolour is a lovely way to add soft washes of colour, while glitter glue adds a little sparkle for the Christmas season.
How to Make a Poinsettia Wreath
To turn your paper flowers into a wreath, you’ll need a wooden embroidery hoop.
Arrange your poinsettias around the hoop until you like the overall composition. I played with a combination of pink, cream, and red flowers, alternating the colours to create a balanced arrangement.
Once you’re happy with the placement, simply bend the pipe cleaners around the embroidery hoop to secure each flower in place.
Continue arranging and attaching the flowers until you’ve completed your wreath!
And that’s it! A simple paper flower project turned into a beautiful piece of handmade Christmas decor.