These DIY minimalist candle holders will add a soft and elegant centerpiece to your tablescape.
DIY minimalist candle holders are the perfect touch to any special occasion (think weddings, Valentine’s day, Easter, etc.!) or for elevating your everyday dinners.
Add these easy DIY twisted candles to complete the aesthetic!

Materials you will need for this project:
- Plaster of Paris (from your local hardware store or craft store)
- Cardboard tube (from a Cricut vinyl roll or paper towel roll)
- Cardboard sheet
- Cap or lid from a hand sanitizer container (or another cap that fits the base of your candle )
- Gold foil sheets
- Mod Podge or gold foil adhesive
- Hot glue gun


Making Your Mold
Begin by cutting your cardboard tube to being one and a half inches tall. I used the inner support tube from a Cricut paper roll. If using a less sturdy paper towel cardboard tube, surround the tube with Duck Tape to add support and also a waterproof layer.
Then cut a small piece of cardboard to be slightly wider than the width of your cardboard tube.
Secure the cardboard tube to the base by adding a layer of hot glue all around the outside base of the cardboard tube.


Mixing and Pouring the Plaster of Paris
The recipe for Plaster of Paris is two parts Plaster of Paris powder to one part cold water.
While working with Plaster of Paris you need to work quickly as it dries just as quickly.
I found the right mixture amount for the size of the candle holders was approximately three tablespoons Plaster of Paris and one and a half tablespoons cold water
Because of the thickness of my cardboard tube, I was able to mix the Plaster of Paris and water directly within the mold. If you’re using a thinner cardboard tube, you may want to mix the plaster in a separate container and pour it into the mold afterward.
I had many, almost empty, caps from hand sanitizers that fit the bottom of my taper candles perfectly. Before mixing your plaster, measure your cap to make sure your candles will fit. Press the cap into the center of the mold and allow the plaster to dry for a few hours prior to tearing away the cardboard mold.
Once your candle holder is fully dry, you can use a piece of sandpaper to smooth out any rough edges.


Foiling the Candle Holder
To foil the candle holder, paint a layer of Mod Podge or gold foil adhesive onto the plaster. Allow the glue to sit for a few seconds, becoming tacky at the touch of your finger. I then rolled the candle holder into a sheet of gold foil. You might have to do these steps a few times before covering the candle holder completely in foil.


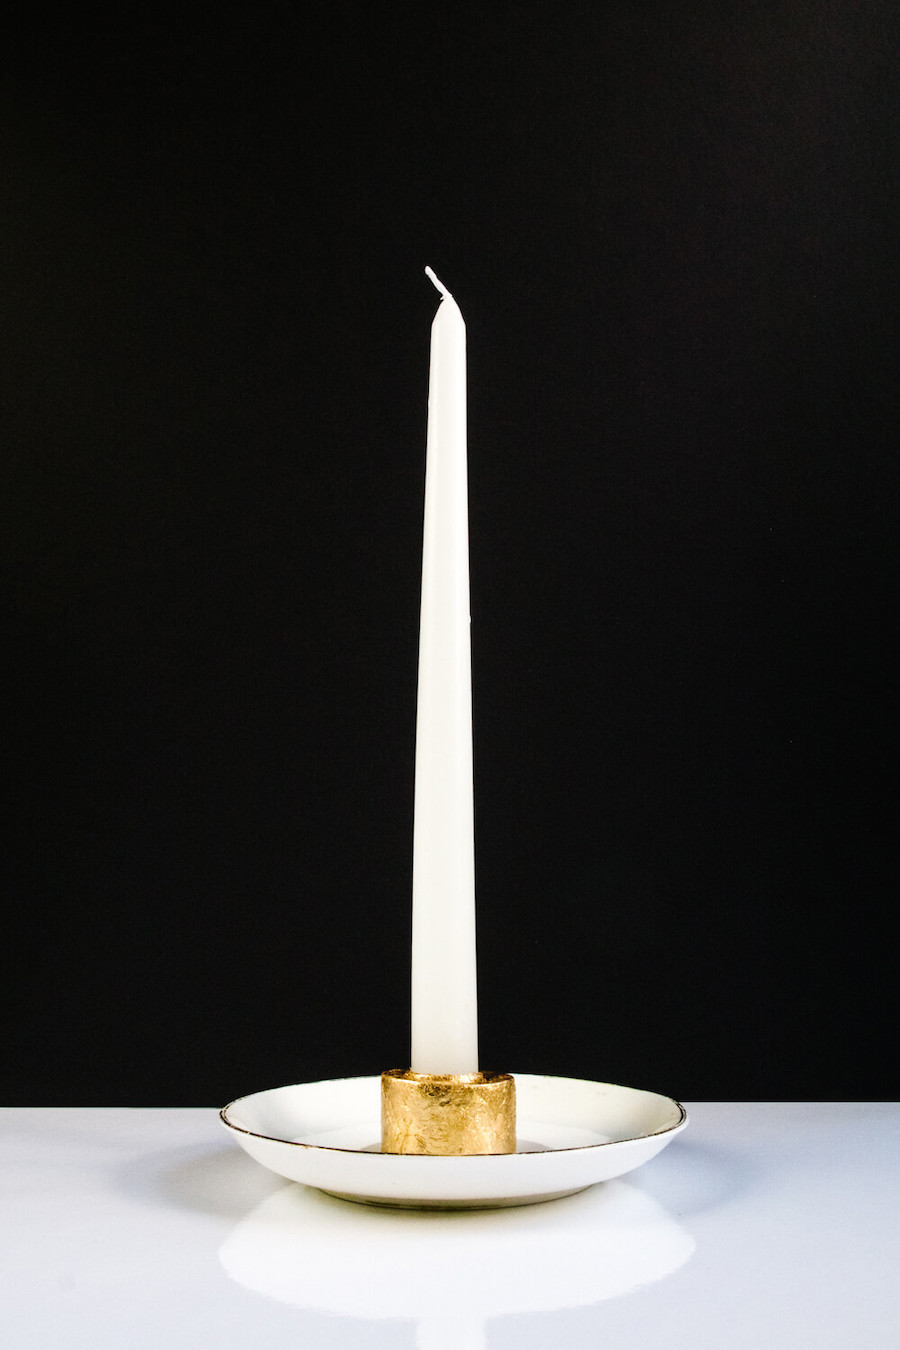
Styling Your Tablescape
For styling your tablescape, you can decide whether to use the candle holder by itself for a more minimalist style, or for a more traditional style (and to protect your table from any wax spills!), adhere the candle holder to a vintage teacup saucer using a squirt of hot glue.


