
I am excited to once again be seeing starburst mirrors (or also called sunburst mirrors) at Anthropologie, West Elm, and on Pinterest (my biggest sources of interior inspiration!). They were such a trend a few years ago and have been on my list to DIY one since then! This tutorial will walk you through how to make a DIY Starburst Mirror (or DIY sunburst mirror if you prefer!).
So many DIY starburst mirror tutorials I have already seen include hardware store materials and heavy-duty tools. I wanted to keep this one simple and affordable using mostly materials I already own and some from the dollar store.

Supplies you will need:
- A round mirror
- Wooden skewers or wooden dowels
- Cardstock
- A thumbnail tack, a pen and some thread
- Glue gun and glue sticks
- Paint and paint brush
*As an Amazon Associate I earn from qualifying purchases.

Begin by cutting three cardstock circles slightly smaller than the back of your mirror. I used a large bowl as a template for these. Next, place a large piece of scrap paper down on the floor and one cardstock circle within the center. Then punch a thumbnail tack into the center of the circle. Note: You may want some corrugated cardboard or a cutting mat underneath to hold the tack depending on how much you love your floors!. Cut a piece of string the length of how far you’d like the longest rays to come out from the center. Tie one end to the tack and a pen to the other end. Use your new diy measuring tool to draw a circle all the way around – this will be a template for the rays as they are placed.
Next, start evenly placing the skewers around the circle having the longest ends meet the circle drawn. I would do this with eight or so and then begin glueing them down with the hot glue.
This is where I, as someone who’s diy-ing this as I go, made a last minute decision to paint the dowels in order that I could begin to glue more dowels on the clean, right side up of the cardstock (see step 4). I saw this as an opportunity to add more dimension to the mirror.

I continued to glue more skewers on either side of the cardstock circle until the starburst had gotten to my desired fullness. I then painted multiple layers of gold paint so that there was no translucency of wood.
Next, I glued the second cardstock circle to the side that I wanted facing the wall when the mirror is hung. Then I glued this wooden plaque that I had to the cardstock. The mirror is quite light weight because of the materials used – making it so that you really could use just about anything to hang the mirror.
Lastly (and very satisfyingly!) , I glued the mirror to the front and hung!
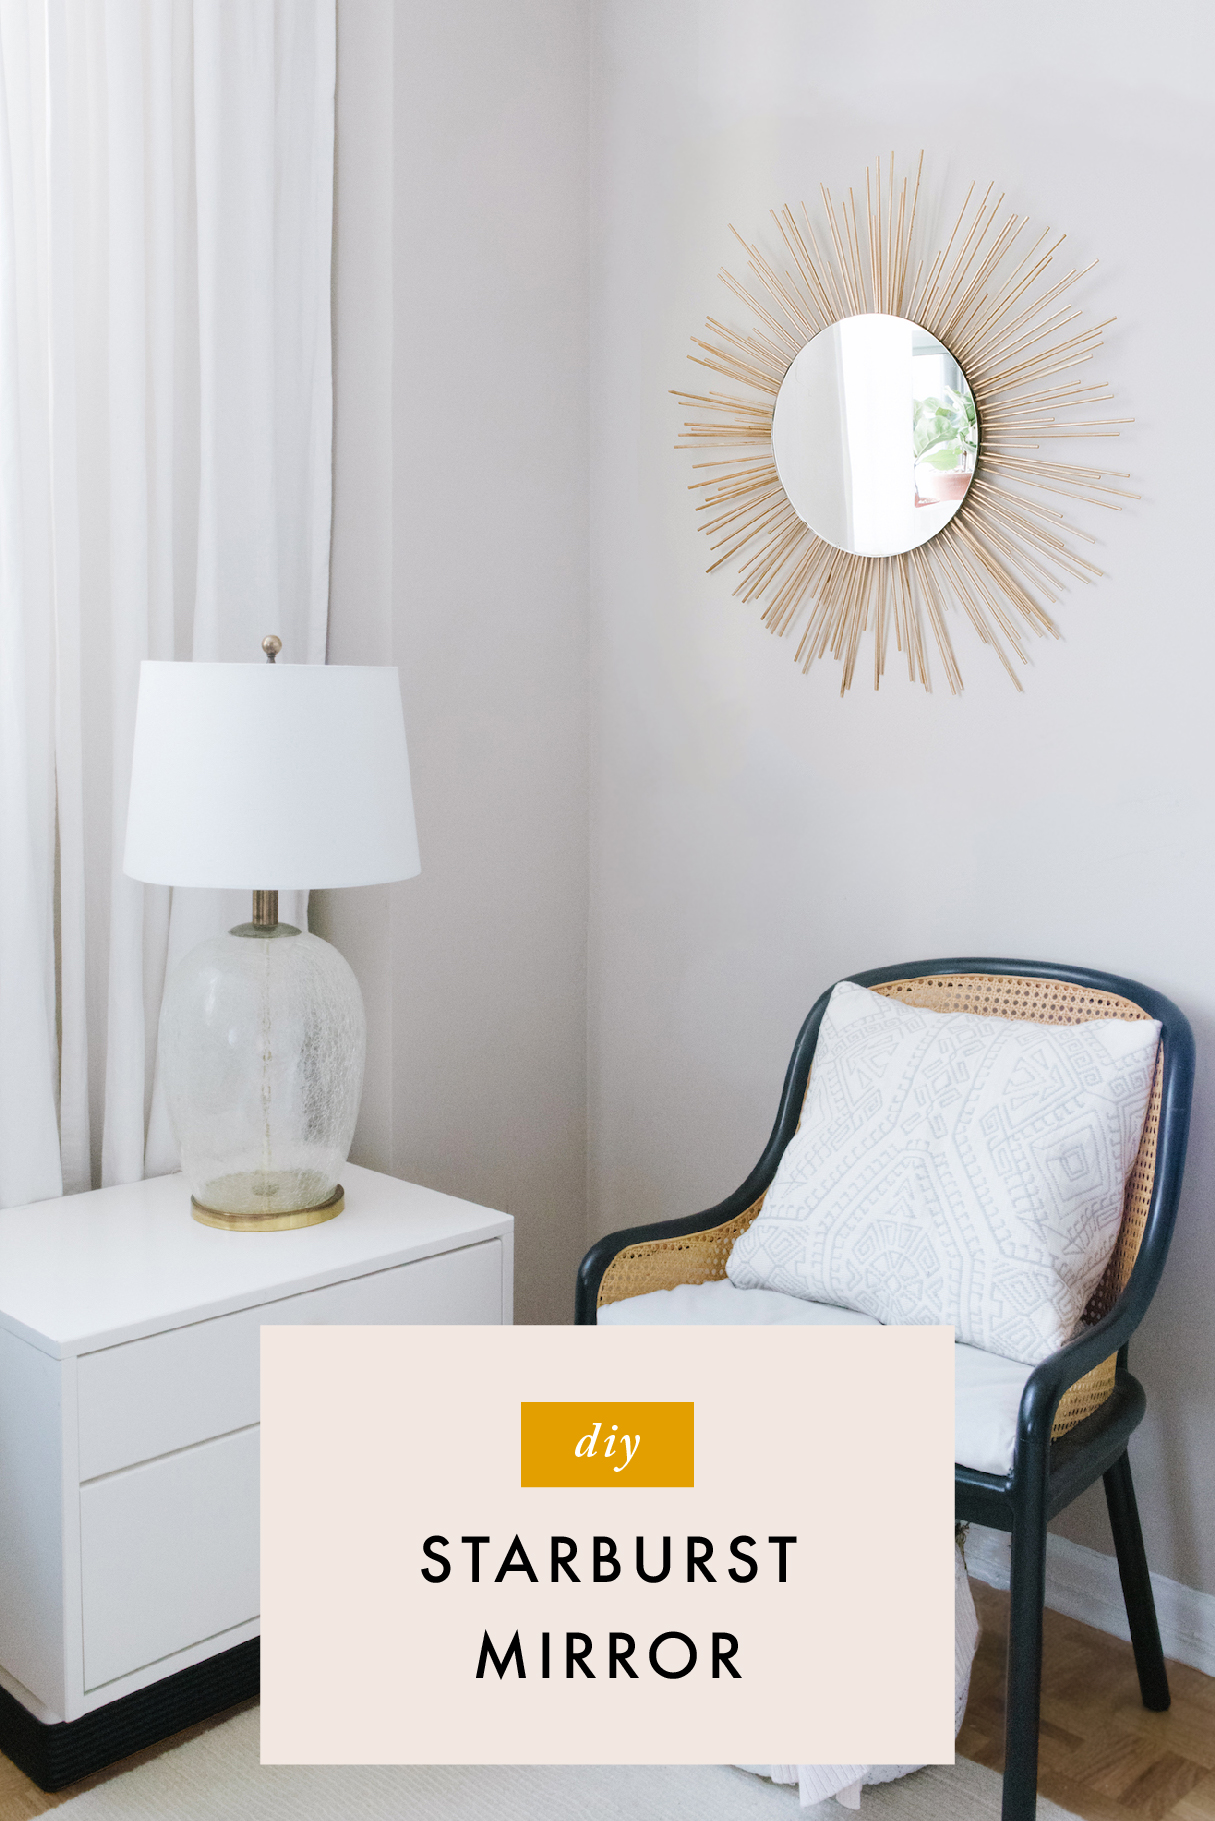
Do you love a starburst mirror as well? I find they add almost an architectural element to a flat wall. As usually, I would love to hear whether you try this diy for yourself.
xoxo – Laura
Shop This Post


2 thoughts on “DIY Starburst Mirror”
It turned out so cute! I love a starburst mirror but they can get pricey. This is the perfect solution.
Thank you Libbie!